
Train YOLACT with a Custom COCO Dataset

In this tutorial, we will train YOLACT with a custom COCO dataset.
YOLACT is a state of the art, real-time, single shot object segmentation algorithm detailed in these papers:
Big thanks to the authors: Daniel Bolya, Chong Zhou, Fanyi Xiao, Yong Jae Lee!
I didn’t create the YOLACT code, so if you find bugs, make sure to submit them on GitHub.
Important Notes
If you’re looking for how to train YOLACT on Windows 10, you’ve come to the right place.
If you’re looking for how to train YOLACT on Mac or Linux, these instructions should work pretty much exactly the same, however I’m currently using Windows.
Unfortunately you won’t be able to train on Google Colab. Colab times out and resets if you leave it training too long.
You will need a fairly powerful computer with a CUDA capable GPU. I’m using a desktop PC with an NVidia RTX 2070.
Custom COCO Dataset
There are three options you can take with this tutorial:
Create your own COCO style dataset. Check out: Create COCO Annotations From Scratch
Bring an existing COCO style dataset.
Use the Cigarette Butt Dataset below.
Whichever you choose, make sure it’s annotated in COCO format and that you have a json file of annotations for both training and validation images as well as a separate directory of images for each. Read more at http://cocodataset.org/#home.
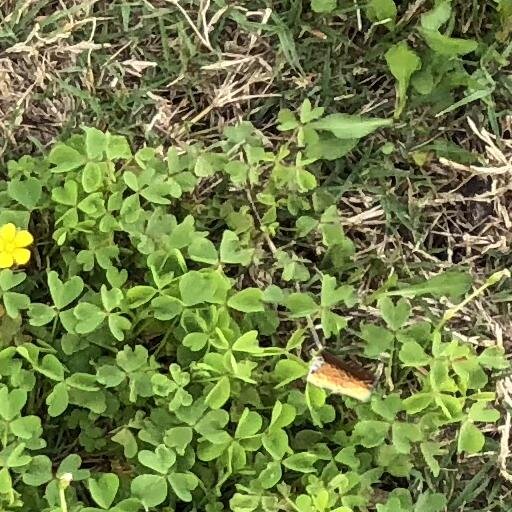
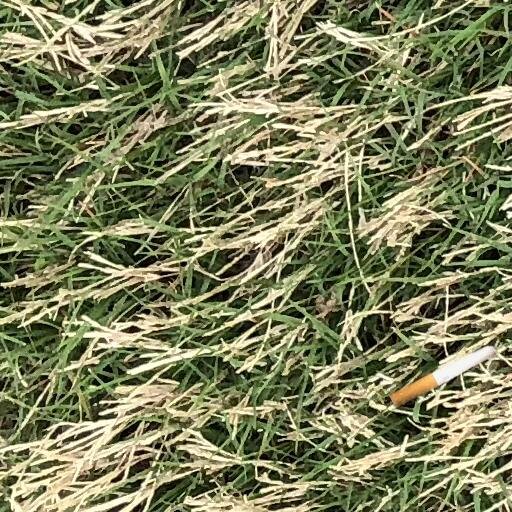
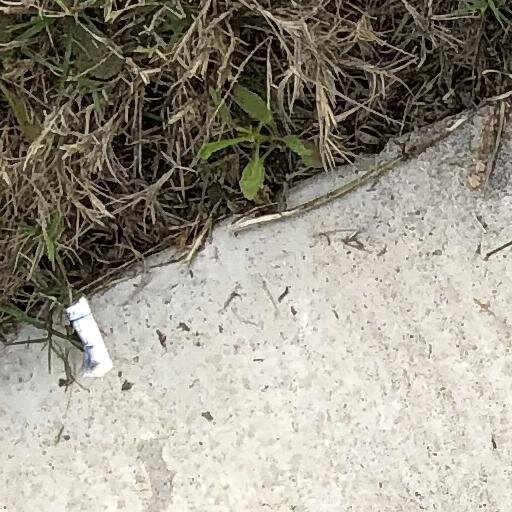
Cigarette Butt Dataset
In this tutorial, I’m using a synthetic dataset I created from scratch. It is COCO-like or COCO-style, meaning it is annotated the same way that the COCO dataset is, but it doesn’t have any images from the real COCO dataset. It was created by randomly pasting cigarette butt photo foregrounds over top of background photos I took of the ground near my house.


Download the dataset here: https://www.immersivelimit.com/datasets/cigarette-butts
Interested in how I created the dataset?
Learn more here: Training an AI to Recognize Cigarette Butts
Download YOLACT
You will need to clone or download the YOLACT Github repository.
Click the green Clone or download button
Either download the .zip file or clone the repo using git
If you download the .zip file, make sure to extract it
YOLACT Config File
Open yolact/data/config.py
Find the “DATASETS” section and add the “cig_butts_dataset” to the end
We are just overwriting some variables form “dataset_base”, so make sure your custom dataset definition comes after that
Make sure to replace <path to dataset> with the path to your dataset
# ----------------------- DATASETS ----------------------- #
...

cig_butts_dataset = dataset_base.copy({
  'name': 'Immersive Limit - Cigarette Butts',
  'train_info': '<path to dataset>/cig_butts/train/coco_annotations.json',
  'train_images': '<path to dataset>/cig_butts/train/images/',
  'valid_info': '<path to dataset>/cig_butts/val/coco_annotations.json',
  'valid_images': '<path to dataset>/cig_butts/val/images/',
  'class_names': ('cig_butt'),
  'label_map': { 1:  1 }
})
Find the “YOLACT v1.0 CONFIGS” section and add the “yolact_resnet50_cig_butts_config” to the end
Again, we are overwriting some variables from “yolact_resnet50_config”, so make sure your custom config comes after that
# ----------------------- YOLACT v1.0 CONFIGS ----------------------- #
...

yolact_resnet50_cig_butts_config = yolact_resnet50_config.copy({
    'name': 'yolact_plus_resnet50_cig_butts',
    # Dataset stuff
    'dataset': cig_butts_dataset,
    'num_classes': len(cig_butts_dataset.class_names) + 1,

    # Image Size
    'max_size': 512,
})
Why not YOLACT++? Because it takes a dependency on DCNv2 and I haven’t had time to test that path yet. If you’re interested, try it out and let me know how it goes!
Anaconda Setup
While there are other ways to install Python, I find that Anaconda is the easiest way to manage multiple Python environments. It’s completely free and works on Windows, Mac, and Linux
Navigate to https://www.anaconda.com/distribution/
Choose your operating system (e.g. Windows)
Download the Python 3.7 version
Run the installer (Anaconda installation documentation)
Anaconda Environment Setup
Once Anaconda is installed, you will need to set up a new environment for ML-Agents.
Open the newly installed “Anaconda Prompt” (Anaconda prompt documentation)
Run the following command
conda create -n yolact python=3.7
This will create a new Python 3.7 environment called “yolact”. Nothing special about the name yolact at this point, it’s just informative.
Type “y” and press Enter to proceed
Follow the instructions to activate the environment. In my case, I ran
conda activate yolactConfirm that the environment is active by looking for “(yolact)” on the left side of the command prompt
Change directories to the yolact directory that you downloaded from GitHub
Now we’ll install some necessary libraries.
Pycocotools
On Windows, you have to install Visual C++ 2015 build tools first
Then just run this command:
pip install git+https://github.com/philferriere/cocoapi.git#subdirectory=PythonAPI
PyTorch
Anaconda makes it pretty easy to install pytorch with a minimal CUDA toolkit
Run this command:
conda install pytorch torchvision cudatoolkit=10.1 -c pytorch
Training
To train, you will need an imagenet-pretrained model. I can pretty much guarantee that you do not want to train this from scratch. Transfer Learning is your friend. Look it up if you’re confused.
Download
resnet50-19c8e357.pthfrom here.Put the .pth file into the yolact/weights folder
At this point, training should be really easy! The following command should start training.
python ./train.py --config=yolact_resnet50_cig_butts_configAllow training to run for a while. I think I left mine for a few hours and decided to stop it when I got the following mAP values:
Calculating mAP...

       |  all  |  .50  |  .55  |  .60  |  .65  |  .70  |  .75  |  .80  |  .85  |  .90  |  .95  |
-------+-------+-------+-------+-------+-------+-------+-------+-------+-------+-------+-------+
   box | 87.95 | 99.94 | 99.94 | 99.94 | 99.94 | 99.94 | 98.96 | 98.76 | 95.10 | 79.27 |  7.78 |
  mask | 84.56 | 99.94 | 99.94 | 99.94 | 99.94 | 99.94 | 99.94 | 98.60 | 93.64 | 53.43 |  0.27 |
-------+-------+-------+-------+-------+-------+-------+-------+-------+-------+-------+-------+
I’ll be honest, I haven’t taken the time to really understand what this table means, but I see a lot of high 90s, so that seems good. 🤷♂️
When it’s looking good, you can stop the training early with Ctrl + C.
It should save a new .pth file in the yolact/weights folder
This file contains your trained weights. In my case, it was
yolact/weights/yolact_resnet50_cig_butts_278_69684_interrupt.pthEvaluation
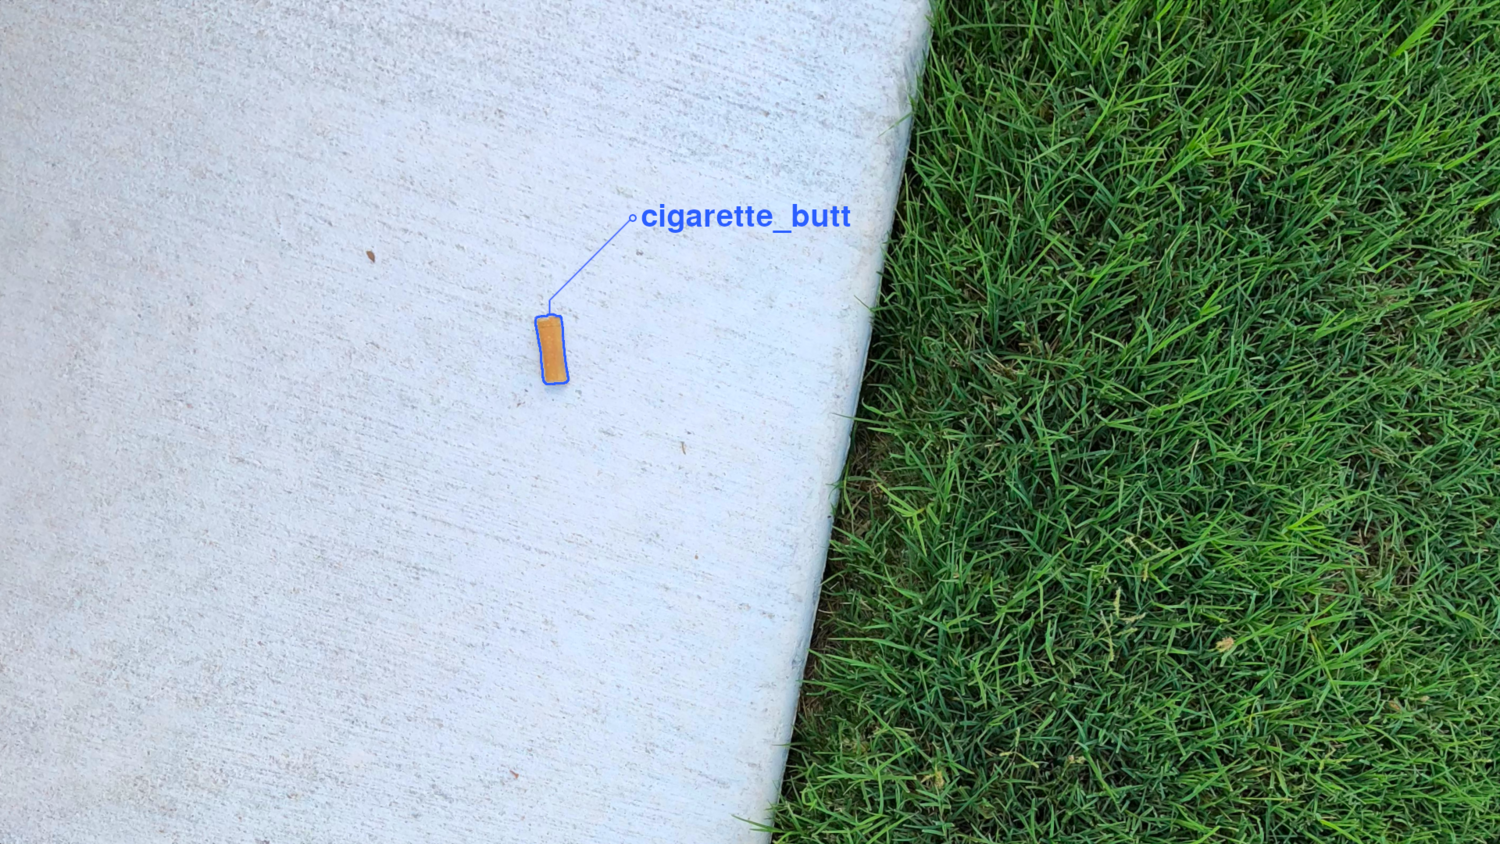
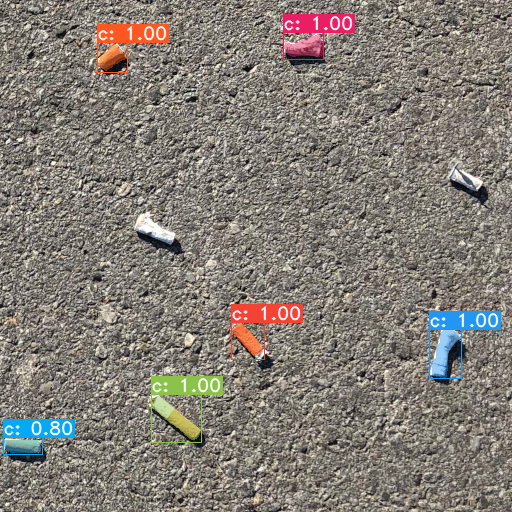
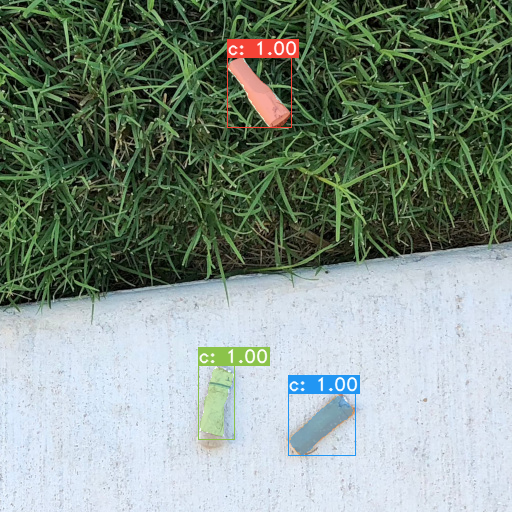
Now you can evaluate the network on a directory of images.
Run the following command
Make sure to replace the trained_model with your .pth file
Make sure to replace <path to dataset> with the path to your dataset
python eval.py --trained_model=./weights/yolact_resnet50_cig_butts_278_69684_interrupt.pth --config=yolact_resnet50_cig_butts_config --score_threshold=0.3 --top_k=15 --images=<path to dataset>/cig_butts/real_test:output_imagesMy results weren’t perfect on real images, but for my first attempt, I’m pretty impressed. I’m sure you can do better if you experiment!


Conclusion
Hopefully you found this tutorial helpful! Now that you have a trained neural net, you can run it in Google Colab or wherever else you’d like. Here’s a tutorial for how to run YOLACT++ inference in Google Colab.

Want to create a custom dataset?
👉Check out the Courses page for a complete, end to end course on creating a COCO dataset from scratch.