Unity ML-Agents Setup
Overview
In this tutorial, you’ll learn how to set up Unity ML-Agents. Topics covered include:
- How to download ML-Agents from GitHub
- How to install ML-Agents via the Package Manager
- How to import ML-Agents Example Projects
Download ML-Agents
First, let’s download Unity ML-Agents from GitHub.
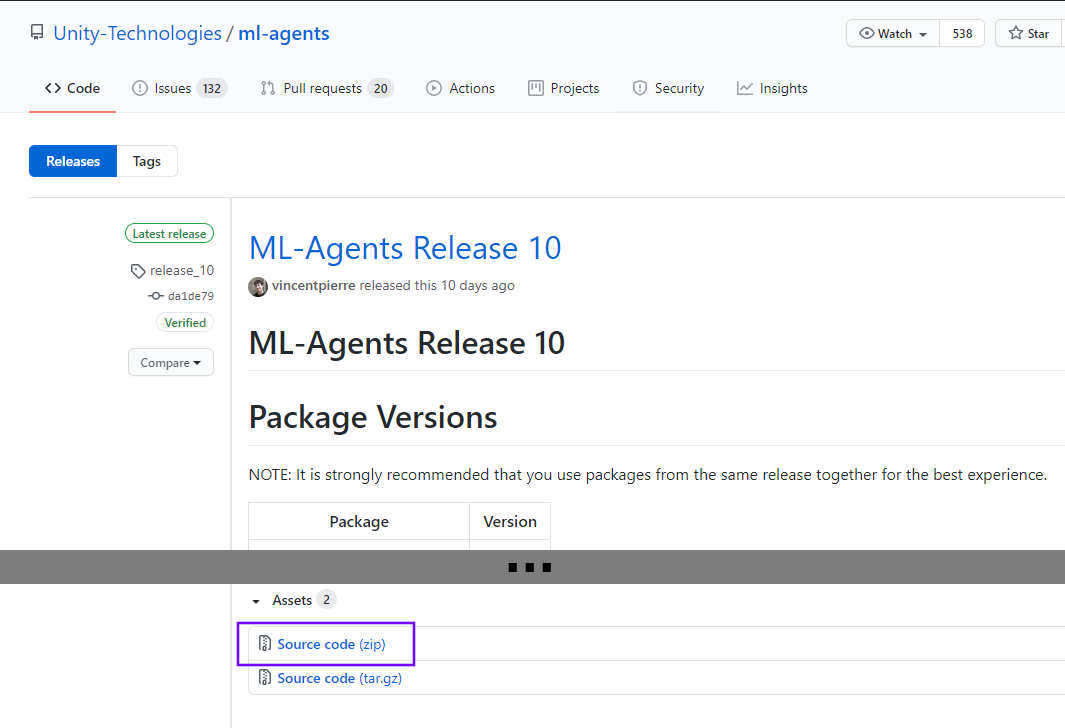
- Go to the Releases page on the Unity ML-Agents GitHub
- Find the latest release in the list
- Download the Source code (.zip) file
- If you are migrating from an older version, refer to the Migrating documentation page for an explanation of what has changed
- Unzip the directory to a convenient place on your computer
Unity Project Setup
If you don’t already have a project ready, we’ll create one now.
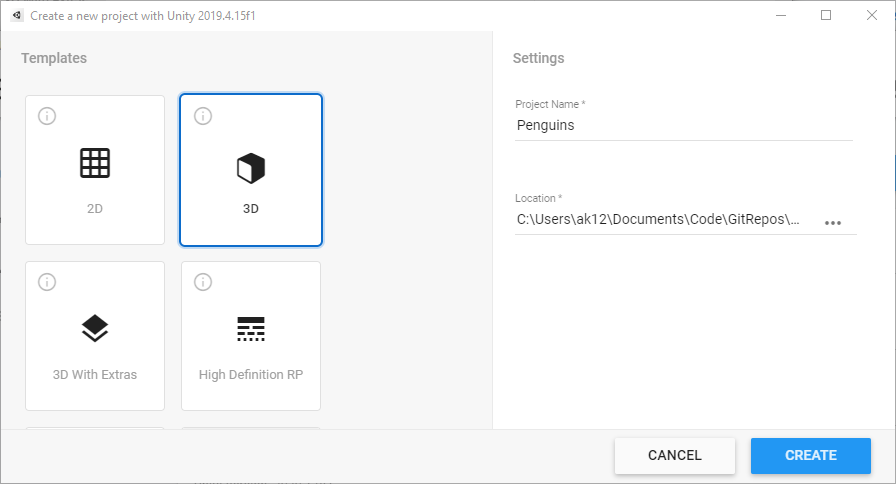
- Open Unity Hub on your computer.
- Create a new Unity project using version 2021.3 or newer (the minimum required version for ML-Agents as of release 20)
- Select the 3D template (you can actually use any other template, but the projects included in the Examples folder may have broken materials)
- Enter a Project Name, for example Penguins
- Choose a Location
- Click the Create button
Install ML-Agents
ML-Agents is installed via the Unity Package Manager.
- In Unity, click Window > Package Manager to open the Package Manager.
Within the Package Manager window:
- Click on Advanced and enable Show preview packages
- Make sure the Unity Registry option is selected above the list of packages
- Search for "ML Agents" and click on it
- Click See all versions
- Choose the version that matches the release you downloaded from GitHub
- Click the Install button and allow the package to install
Tip: On the Releases page, there is a table with matching versions.
| Package | Version |
|---|---|
| com.unity.ml-agents (C#) | v1.6.0 |
| ml-agents (Python) | v0.22.0 |
| ml-agents-envs (Python) | v0.22.0 |
| gym-unity (Python) | v0.22.0 |
| Communicator (C#/Python) | v1.2.0 |
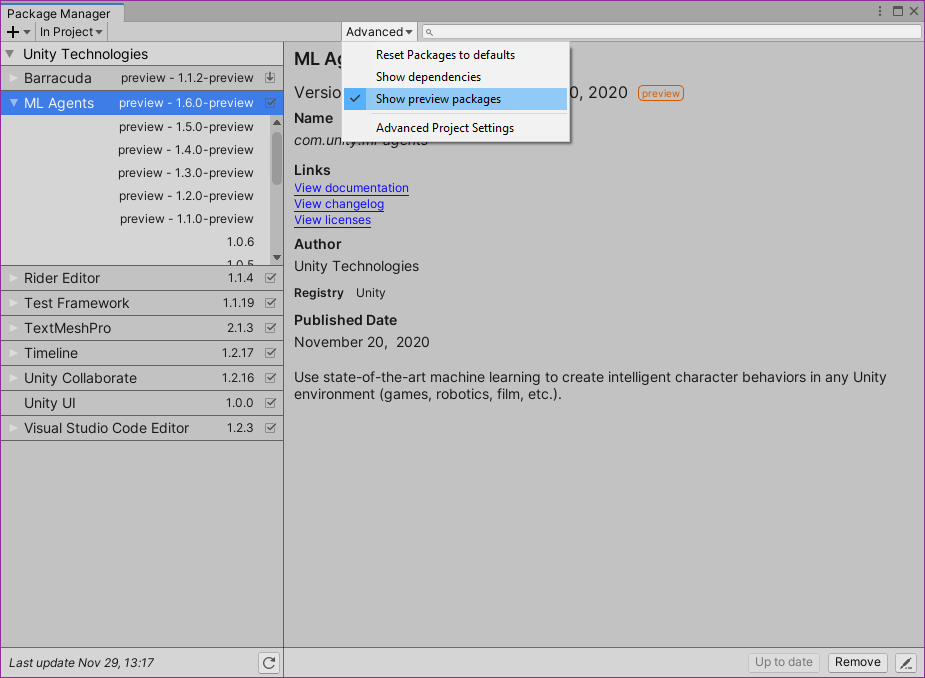
After installation completes, it should appear as installed in the Package Manager. At this point, you are ready to start developing with Unity ML-Agents!
(Optional) Import ML-Agents Example Projects
There are lots of example projects in the folder you downloaded from GitHub. If you want to explore those examples, follow the steps below to import them to your project.
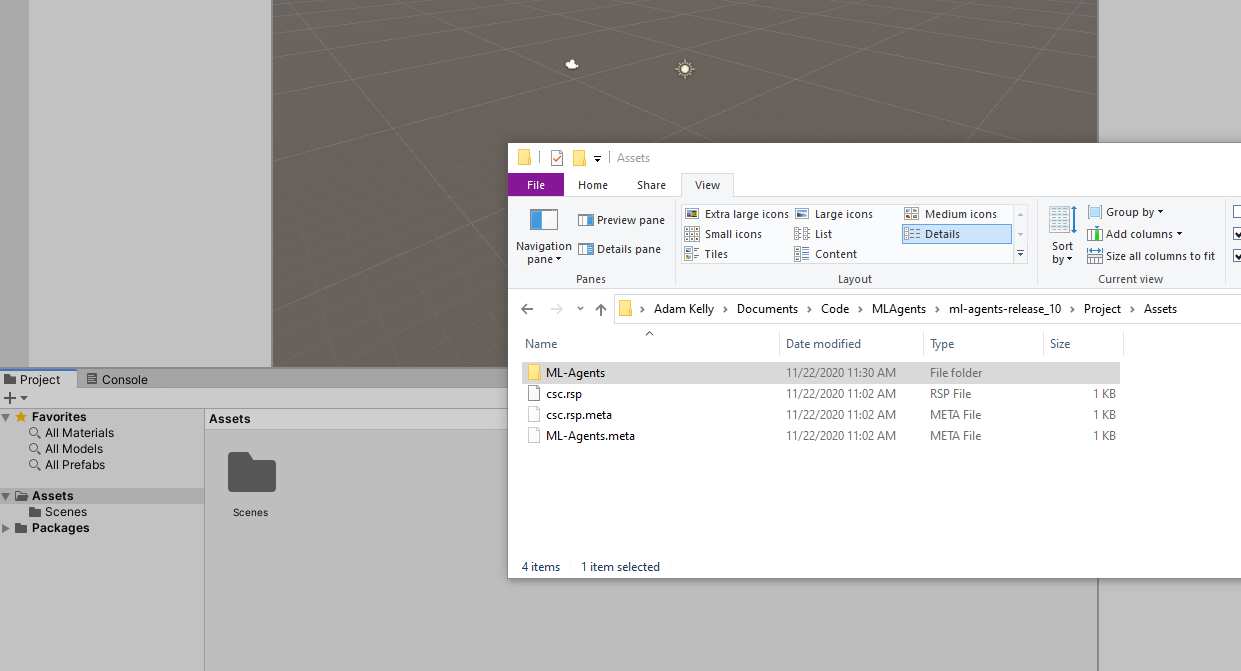
- Open the ml-agents source code directory that you downloaded from GitHub in your system file explorer (external to Unity)
- Navigate to the Project/Assets directory inside the ml-agents source code directory
- Click and drag the ML-Agents directory from the Explorer window into the Assets directory in your Unity Editor to import the entire directory
Examples
Now you can open up the example projects and start exploring. Let’s try one.
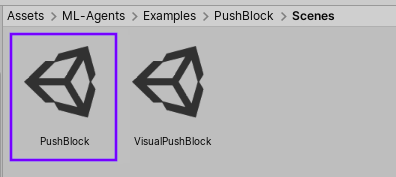
- In Unity, open Assets\ML-Agents\Examples\PushBlock\Scenes
- Open the PushBlock scene (NOT VisualPushBlock)
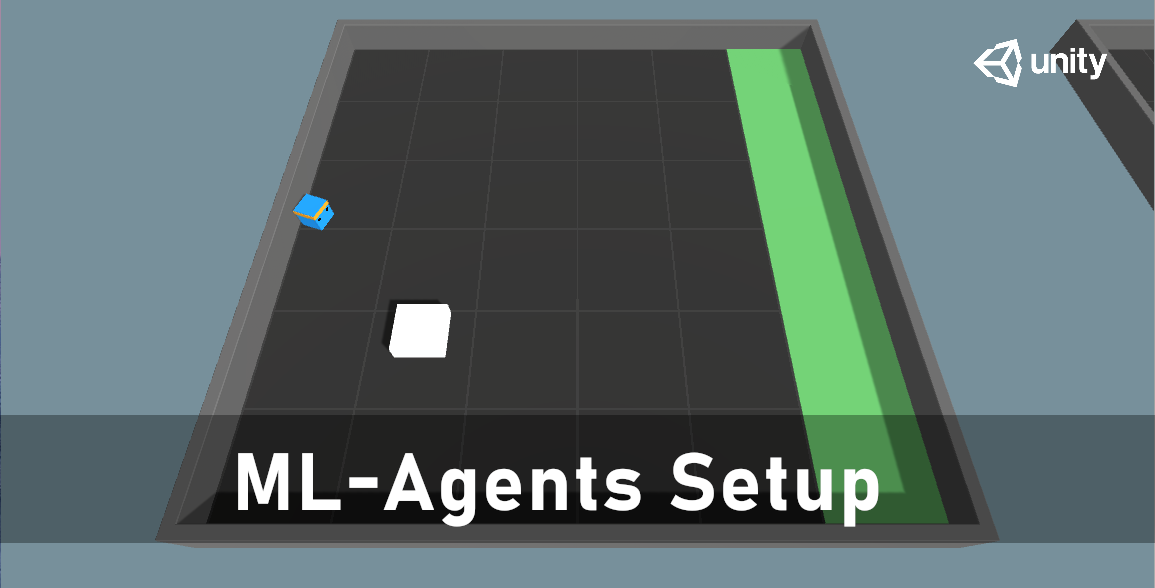
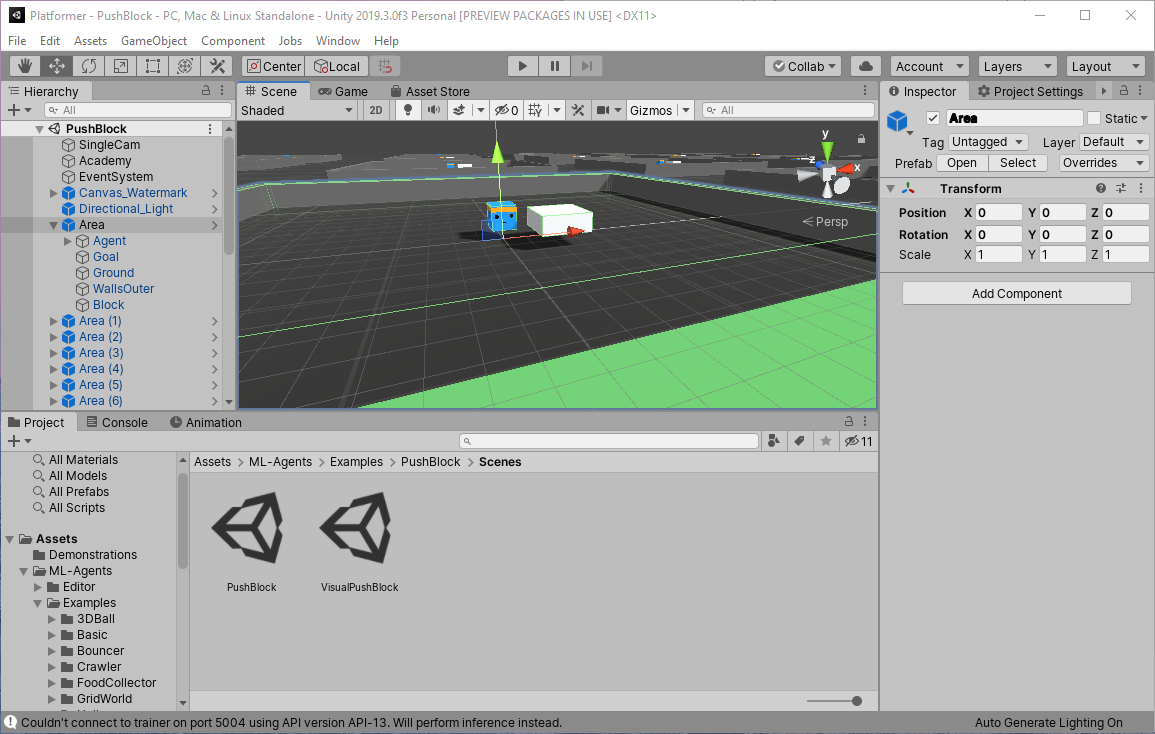
You should see a scene with a bunch of areas. Each Area contains an Agent, a Block, and a Goal. The objective here is for the agent to slide the block into the green goal area.
These agents have already been trained for this specific task. You won’t be able to re-use their brains for anything else.
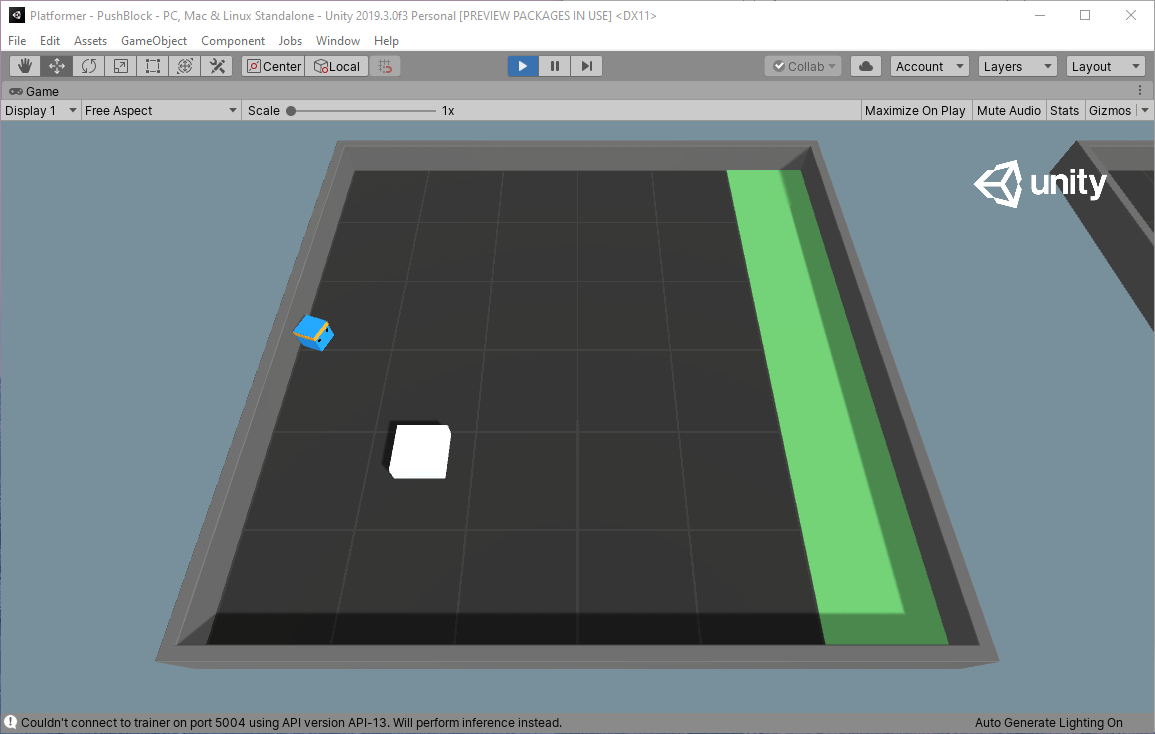
You can watch the fully trained agents complete their task by pressing the Play button. When a neural network is fully trained and being used to make decisions, it is called “inference”. Therefore, these agents are using inference for decision making and to solve their task.
Next Steps
That’s all you need to do for basic Unity ML-Agents setup. Of course you’ll probably want to train your own agents, but that calls for more tutorials.
First, you’ll need to set up your a Python environment for ML-Agents: ML-Agents Python Setup with Anaconda
Second, you’ll need to train your agents. I’m still working on an independent tutorial on that, but for now, you can check out Part 4 of the Reinforcement Learning Penguins tutorial.
