
Simple Character Controller for Unity
Use discount code "SCC15" for a 15% discount!
In this tutorial you’ll learn how to create a very simple character controller for Unity that also works with ML-Agents. We will not use the built in Unity CharacterController primarily because we want a character that works with Rigidbody physics.
The functionality we’ll make for this character includes:
Movement (forward/backward & turning)
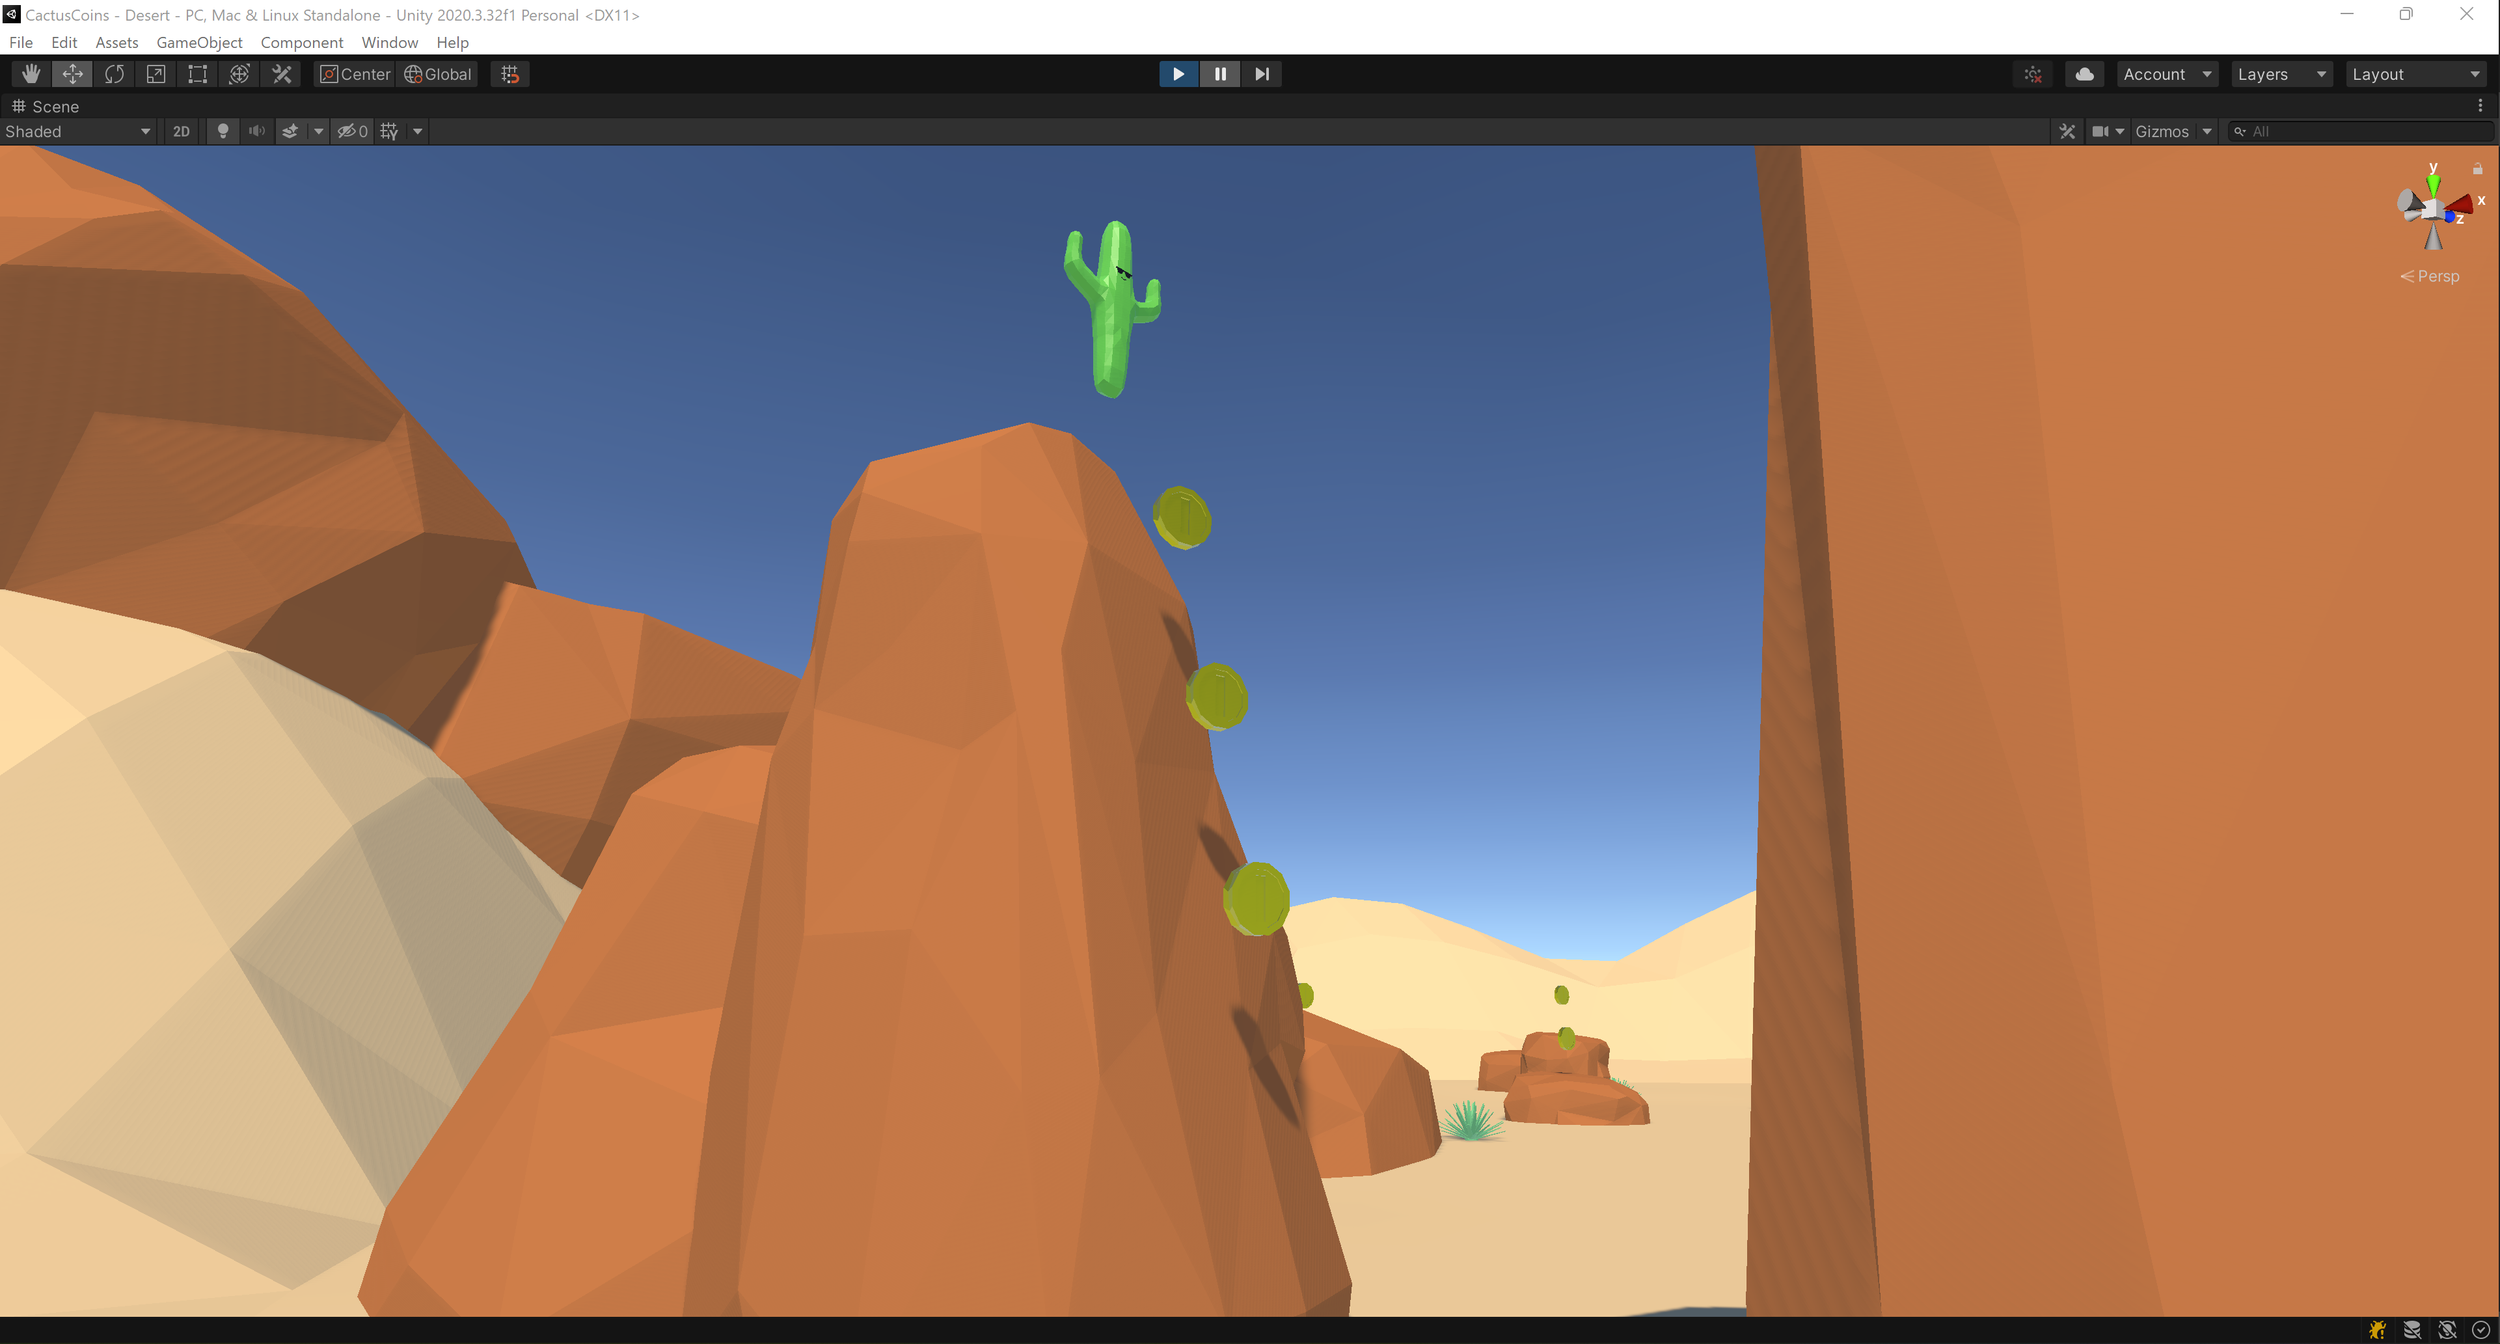
Jumping
Slope limit (prevents jumping up steep slopes)
IsGrounded functionality (prevents jumping while airborne, plus is useful for other stuff)
The character will be made up of the following components:
A physical body made up of a Capsule Collider and Rigidbody
A SimpleCharacterController script that takes and responds to input
An InputController script or a SimpleCharacterAgent script if you’re using ML-Agents
Scripting
SimpleCharacterController.cs
Create a new C# script called SimpleCharacterController.cs and open it.
Delete the Start() and Update() functions so that you have a clean, empty class.
The code should look like this:
using System.Collections;
using System.Collections.Generic;
using UnityEngine;

public class SimpleCharacterController : MonoBehaviour
{
}
The remaining code will go inside the curly brackets { }
First we’re going to need a few configuration variables.
[Tooltip("Maximum slope the character can jump on")]
[Range(5f, 60f)]
public float slopeLimit = 45f;
[Tooltip("Move speed in meters/second")]
public float moveSpeed = 5f;
[Tooltip("Turn speed in degrees/second, left (+) or right (-)")]
public float turnSpeed = 300;
[Tooltip("Whether the character can jump")]
public bool allowJump = false;
[Tooltip("Upward speed to apply when jumping in meters/second")]
public float jumpSpeed = 4f;
Next, we’ll add some public accessors so that other scripts can interact with this one.
IsGrounded - this indicates when the character is on the ground. The obvious case is when the character is jumping or falling, but it also takes slope into consideration, so if there is a steeper slope than our limit, the character is not grounded. It has a private set function, so that other scripts can't modify it.
ForwardInput - this expects a value from -1 to 1 and controls forward movement. -1 is full speed backward, +1 is full speed forward, 0 is no forward input.
TurnInput - this expects a value from -1 to 1 and controls turning. -1 is full speed to the right, 1 is full speed to the left, 0 is no turn.
JumpInput - this takes a true/false value indicating whether to jump
public bool IsGrounded { get; private set; }
public float ForwardInput { get; set; }
public float TurnInput { get; set; }
public bool JumpInput { get; set; }
Next, we'll make a couple private variables to keep track of the Rigidbody and the CapsuleCollider. We use the new keyword because rigidbody is a variable Unity supported many years ago but no longer supports. "new" tells the code to make a new variable in its place that we will manage.
new private Rigidbody rigidbody;
private CapsuleCollider capsuleCollider;
Now we'll start adding some functions. First is Awake(), where we find our Rigidbody and CapsuleCollider.
private void Awake()
{
    rigidbody = GetComponent<Rigidbody>();
    capsuleCollider = GetComponent<CapsuleCollider>();
}
Second is FixedUpdate(), which gets called every .02 seconds by Unity alongside physics updates. Often, code uses Update(), but that is called every frame, which won't work well for character updates that are affected by physics because framerate can vary significantly based on your computer and how complex your scene is. The two functions don't exist yet, so we'll create them below.
private void FixedUpdate()
{
    CheckGrounded();
    ProcessActions();
}
CheckGrounded() will check whether the character is on the ground and update the IsGrounded variable. If we don't do this check, jumping won't work right. We need to make sure the character is on the ground or else holding the jump input button will make the character fly into the sky! This will also take the slope into consideration so that the character can't jump if sliding down a too-steep slope.
To put it simply, we start at the base of the capsule and do a raycast downward and see if it hits something. There is a problem with this right away though. If the raycast is too long, the character will be grounded even if it is not actually touching the ground. A side effect is that jump may be applied multiple FixedUpdates in a row while the ray is still hitting. If the raycast is too short, it won't touch the ground on a slope, even though the character should be considered grounded.
A straightforward solution I came up with (maybe this is standard practice, I have no idea) is to accept different raycast hit distances depending on the angle of the surface it hits. This requires a little bit of trigonometry. We know the radius of the capsule and we can get the normal vector of the surface from the raycast hit information.

An illustration of a capsule collider on a slope. We will use some simple trigonometry to calculate angles and distances to do an improved ground check raycast.
It turns out cosine is the only trigonometric function we need: cos(θ) = adjacent side / hypotenuse
We are trying to find the length of the red line which is the length of the ground raycast when the capsule is grounded. We can take advantage of the fact that there is a right triangle formed by the center point of the lower cap of the capsule, capsule contact point, and raycast hit point. The length of the adjacent side is our radius, the hypotenuse is the distance from the center of the lower cap of the capsule to the maximum raycast hit position, and theta is the angle between the normal vector of the hit surface (the blue line) and the up vector. The raycast will tell us the normal vector when it hits something, so with that information we can calculate maximum distance with the following equation:
max distance = hypotenuse - radius = radius / cos(θ) - radius
There’s some additional math for converting local points to world points, plus the raycast actually starts 1 cm up from the base of the capsule and is allowed to be 1 cm beyond the maximum length to account for the imperfectness of the physics system and floating point arithmetic. Being off by 1 centimeter seems reasonable to me, but feel free to tweak that value if you want more or less precision.
/// <summary>
/// Checks whether the character is on the ground and updates <see cref="IsGrounded"/>
/// </summary>
private void CheckGrounded()
{
    IsGrounded = false;
    float capsuleHeight = Mathf.Max(capsuleCollider.radius * 2f, capsuleCollider.height);
    Vector3 capsuleBottom = transform.TransformPoint(capsuleCollider.center - Vector3.up * capsuleHeight / 2f);
    float radius = transform.TransformVector(capsuleCollider.radius, 0f, 0f).magnitude;
    Ray ray = new Ray(capsuleBottom + transform.up * .01f, -transform.up);
    RaycastHit hit;
    if (Physics.Raycast(ray, out hit, radius * 5f))
    {
        float normalAngle = Vector3.Angle(hit.normal, transform.up);
        if (normalAngle < slopeLimit)
        {
            float maxDist = radius / Mathf.Cos(Mathf.Deg2Rad * normalAngle) - radius + .02f;
            if (hit.distance < maxDist)
                IsGrounded = true;
        }
    }
}
This method of checking if the character is grounded isn’t flawless. For example, the character won’t be considered grounded when more than half of it is hanging over the edge of a small step. It’s simple though, and works in the majority of cases, so we’ll leave more advanced ground checking for another tutorial. Let us know if that’s something you want to see.

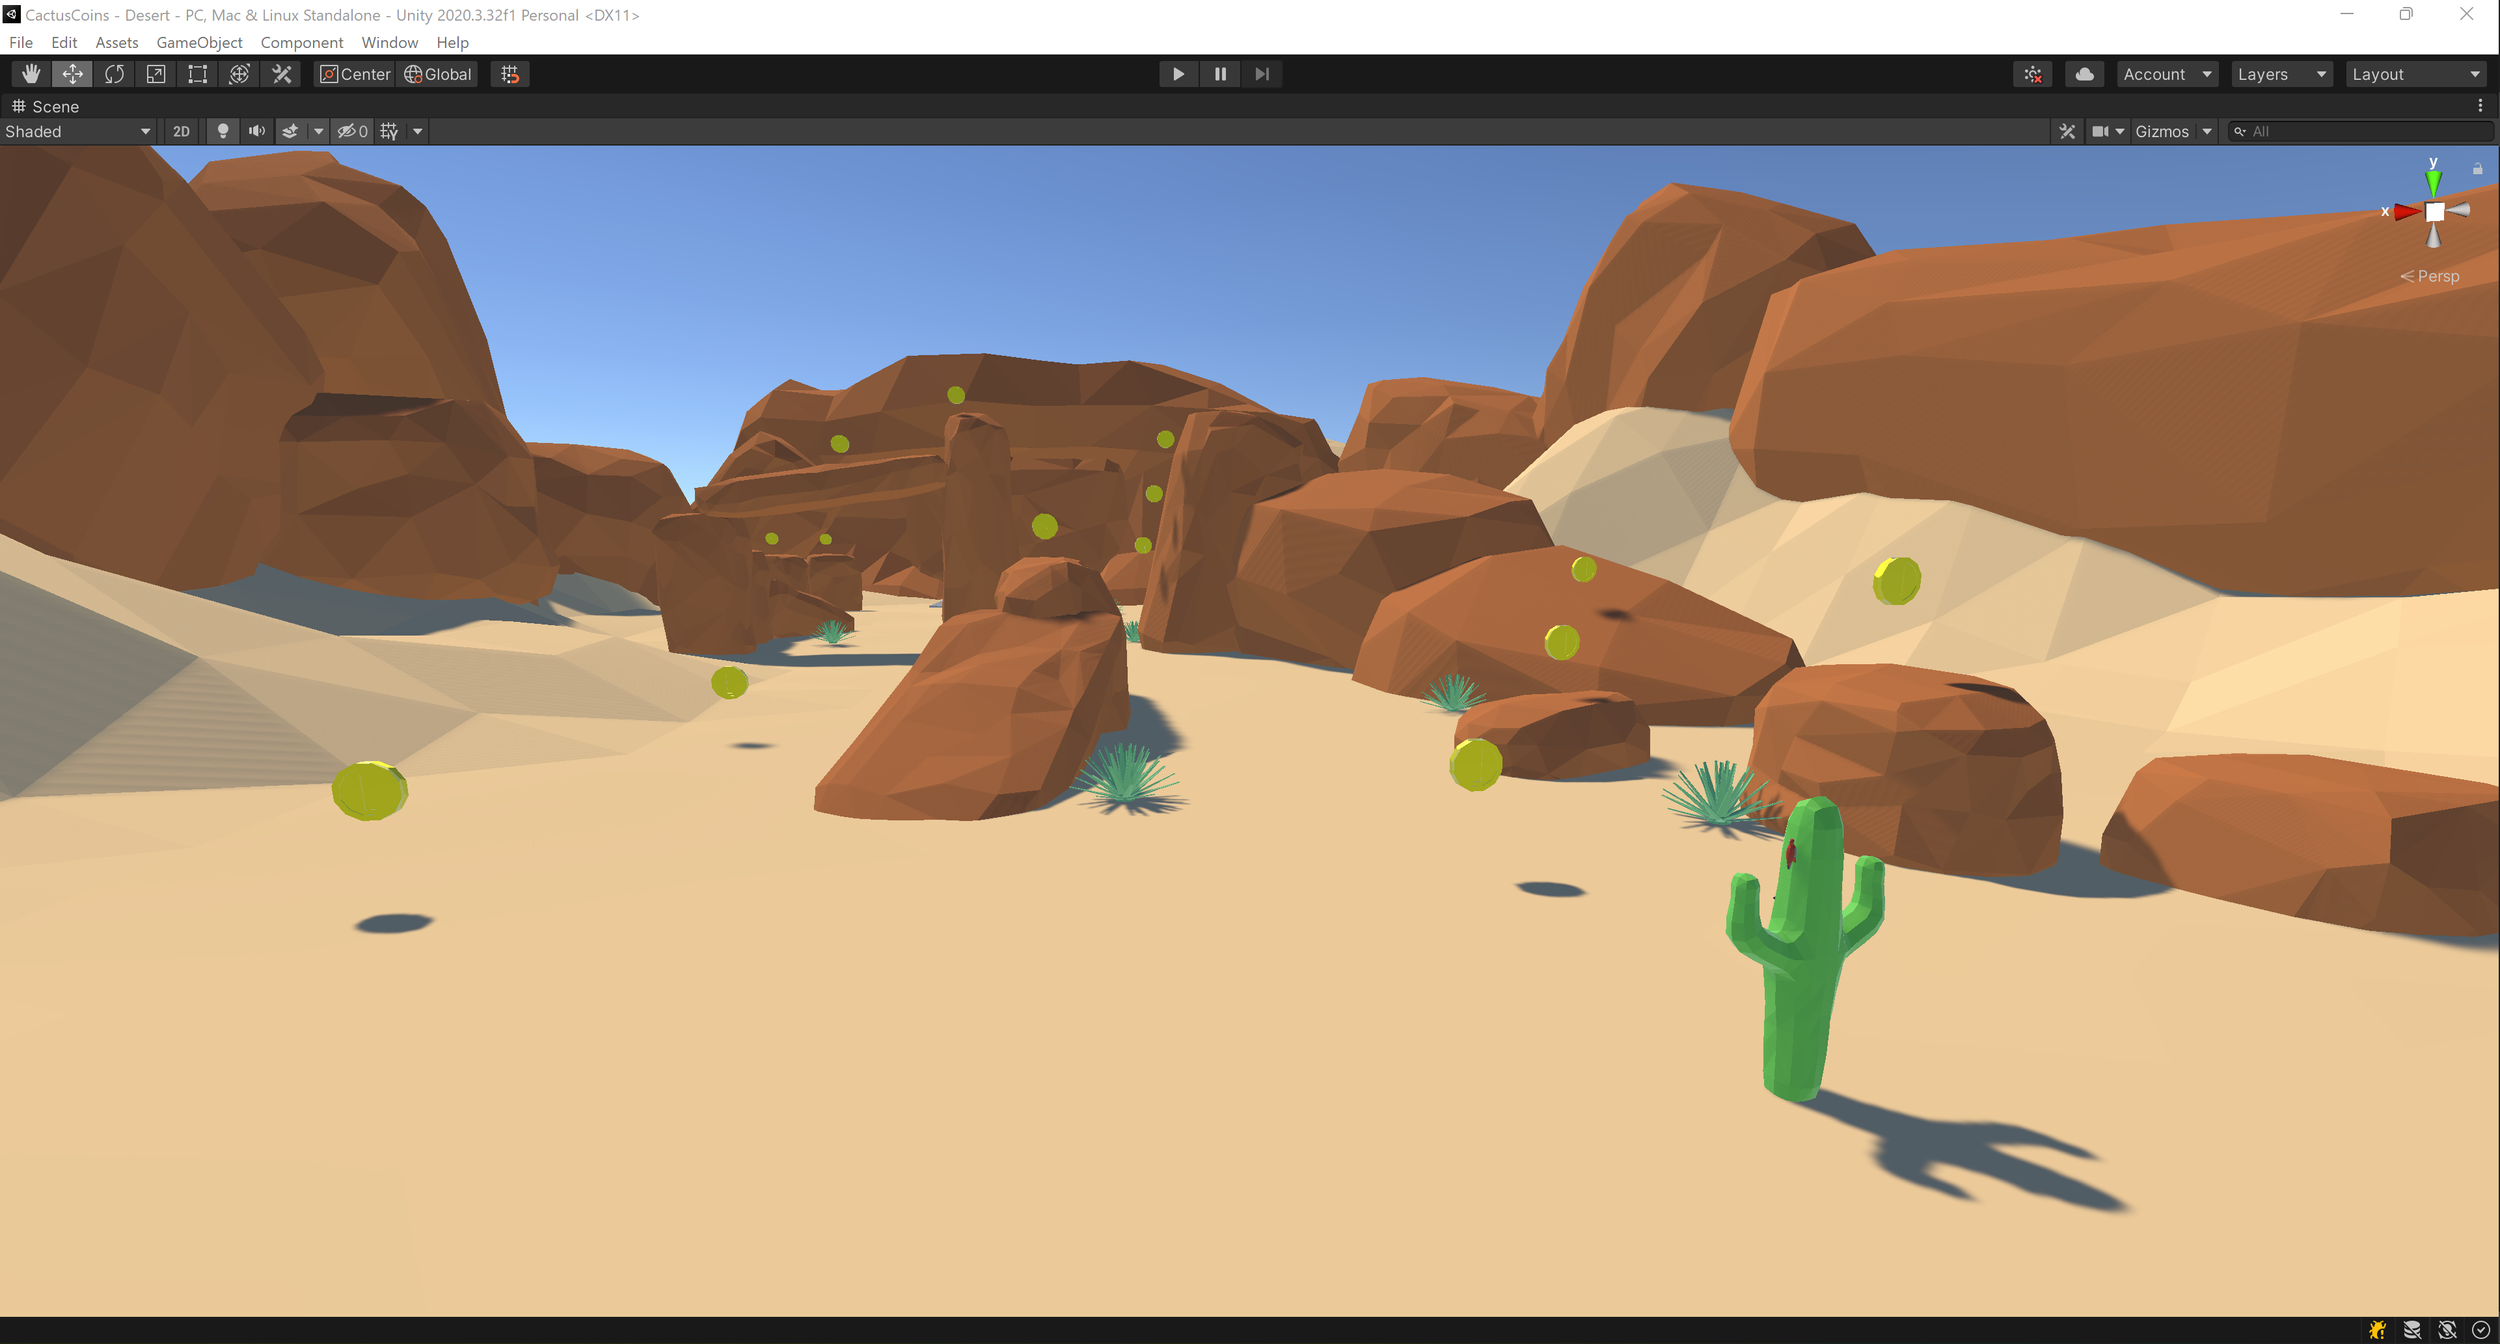
Unity Coint Collecting Platformer Course
Want to learn how to create a coin collecting game with this character controller? We made a beginner friendly video course for that! Unity Coin Collecting Platformer Course — Immersive Limit
ProcessActions() simply reads in inputs and applies movement and turning. We clamp the inputs of turn and move between -1 and 1 to prevent unintended super-speed. Moving is done by setting the velocity of the character’s rigidbody. We handle movement slightly differently based on whether the character is grounded. If grounded, the character will remain still unless the player initiates forward movement. If not grounded (falling), we default to the current velocity but if the player moves forward or backward, we override just that part of the velocity (leaving the vertical velocity untouched). Jumping applies an upward velocity if the character is grounded. Collisions still work perfectly in the tests I've done.
/// <summary>
/// Processes input actions and converts them into movement
/// </summary>
private void ProcessActions()
{
    // Process Turning
    if (TurnInput != 0f)
    {
        float angle = Mathf.Clamp(TurnInput, -1f, 1f) * turnSpeed;
        transform.Rotate(Vector3.up, Time.fixedDeltaTime * angle);
    }
    // Process Movement/Jumping
    if (IsGrounded)
    {
        // Reset the velocity
        rigidbody.velocity = Vector3.zero;
        // Check if trying to jump
        if (JumpInput && allowJump)
        {
            // Apply an upward velocity to jump
            rigidbody.velocity += Vector3.up * jumpSpeed;
        }

        // Apply a forward or backward velocity based on player input
        rigidbody.velocity += transform.forward * Mathf.Clamp(ForwardInput, -1f, 1f) * moveSpeed;
    }
    else
    {
        // Check if player is trying to change forward/backward movement while jumping/falling
        if (!Mathf.Approximately(ForwardInput, 0f))
        {
            // Override just the forward velocity with player input at half speed
            Vector3 verticalVelocity = Vector3.Project(rigidbody.velocity, Vector3.up);
            rigidbody.velocity = verticalVelocity + transform.forward * Mathf.Clamp(ForwardInput, -1f, 1f) * moveSpeed / 2f;
        }
    }
}
InputController.cs
(If you are using ML-Agents, you can skip this script) This script will find the SimpleCharacterController component and feed player input values into the input accessors, ForwardInput, TurnInput, and JumpInput. We can do that check in the Update or FixedUpdate function, but since the Input class only updates on Update, we'll do it there to avoid pointless checks.
Create a new C# script called InputController.cs and open it
Add the following code
public class InputController : MonoBehaviour
{
    private SimpleCharacterController charController;

    void Awake()
    {
        charController = GetComponent<SimpleController>();
    }

    private void FixedUpdate()
    {
        // Get input values
        int vertical = Mathf.RoundToInt(Input.GetAxisRaw("Vertical"));
        int horizontal = Mathf.RoundToInt(Input.GetAxisRaw("Horizontal"));
        bool jump = Input.GetKey(KeyCode.Space);
        charController.ForwardInput = vertical;
        charController.TurnInput = horizontal;
        charController.JumpInput = jump;
    }
}
ML-Agents Usage
(Skip this part if you’re not using ML-Agents)
Integrating this character controller with ML-Agents is really simple. You just need to create a Heuristic() function in your Agent class that reads inputs from the player and an OnActionReceived() function that converts actions to inputs and feeds them into the character controller. This code assumes your agent is set up to use DiscreteActions, but ContinuousActions should be even easier, since you just need to feed the values directly in (aside from Jump, which you need to convert to a bool).
public override void Heuristic(in ActionBuffers actionsOut)
{
    int vertical = Mathf.RoundToInt(Input.GetAxisRaw("Vertical"));
    int horizontal = Mathf.RoundToInt(Input.GetAxisRaw("Horizontal"));
    bool jump = Input.GetKey(KeyCode.Space);
    ActionSegment<int> actions = actionsOut.DiscreteActions;
    actions[0] = vertical >= 0 ? vertical : 2;
    actions[1] = horizontal >= 0 ? horizontal : 2;
    actions[2] = jump ? 1 : 0;
}
public override void OnActionReceived(ActionBuffers actions)
{
    float vertical = actions.DiscreteActions[0] <= 1 ? actions.DiscreteActions[0] : -1;
    float horizontal = actions.DiscreteActions[1] <= 1 ? actions.DiscreteActions[1] : -1;
    bool jump = actions.DiscreteActions[2] > 0;
    characterController.ForwardInput = vertical;
    characterController.TurnInput = horizontal;
    characterController.JumpInput = jump;
}
Character Object Setup
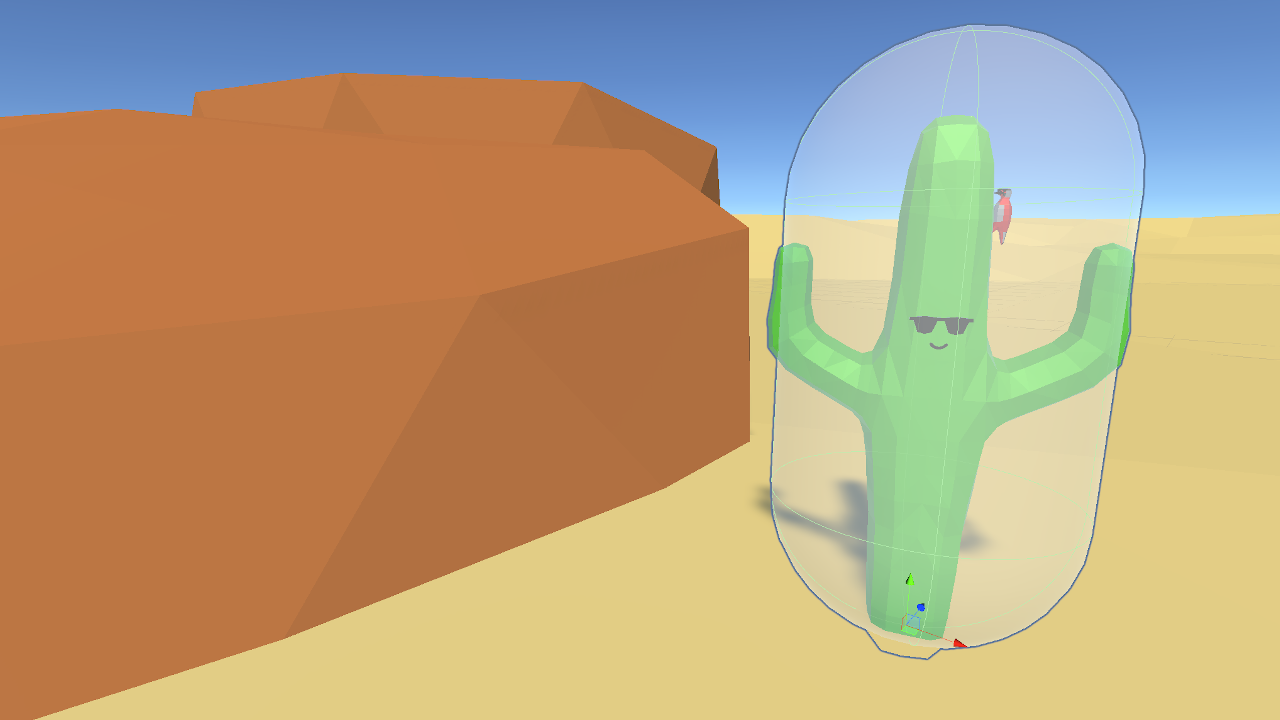
Create an empty GameObject in your scene and call it “Character”
Add a CapsuleCollider component (the code expects a standing capsule and won’t work with a different collider)
Center: 0, 0.5, 0
Radius 0.25
Height 1
Direction Y-Axis
Add a Rigidbody component
Change constraints to Freeze Rotation in X, Y, and Z (this prevents the character from rotating except when we tell it to)
Set Collision Detection to Continuous (this prevents running through walls at high speeds)
You can leave everything else the same, but feel free to experiment with Mass, Drag, etc. Keep gravity enabled.
Add the InputController script (unless using ML-Agents of course, then you’ll be using an Agent class)
Add the SimpleCharacterController script
Feel free to experiment with different values here, but the defaults work well for me
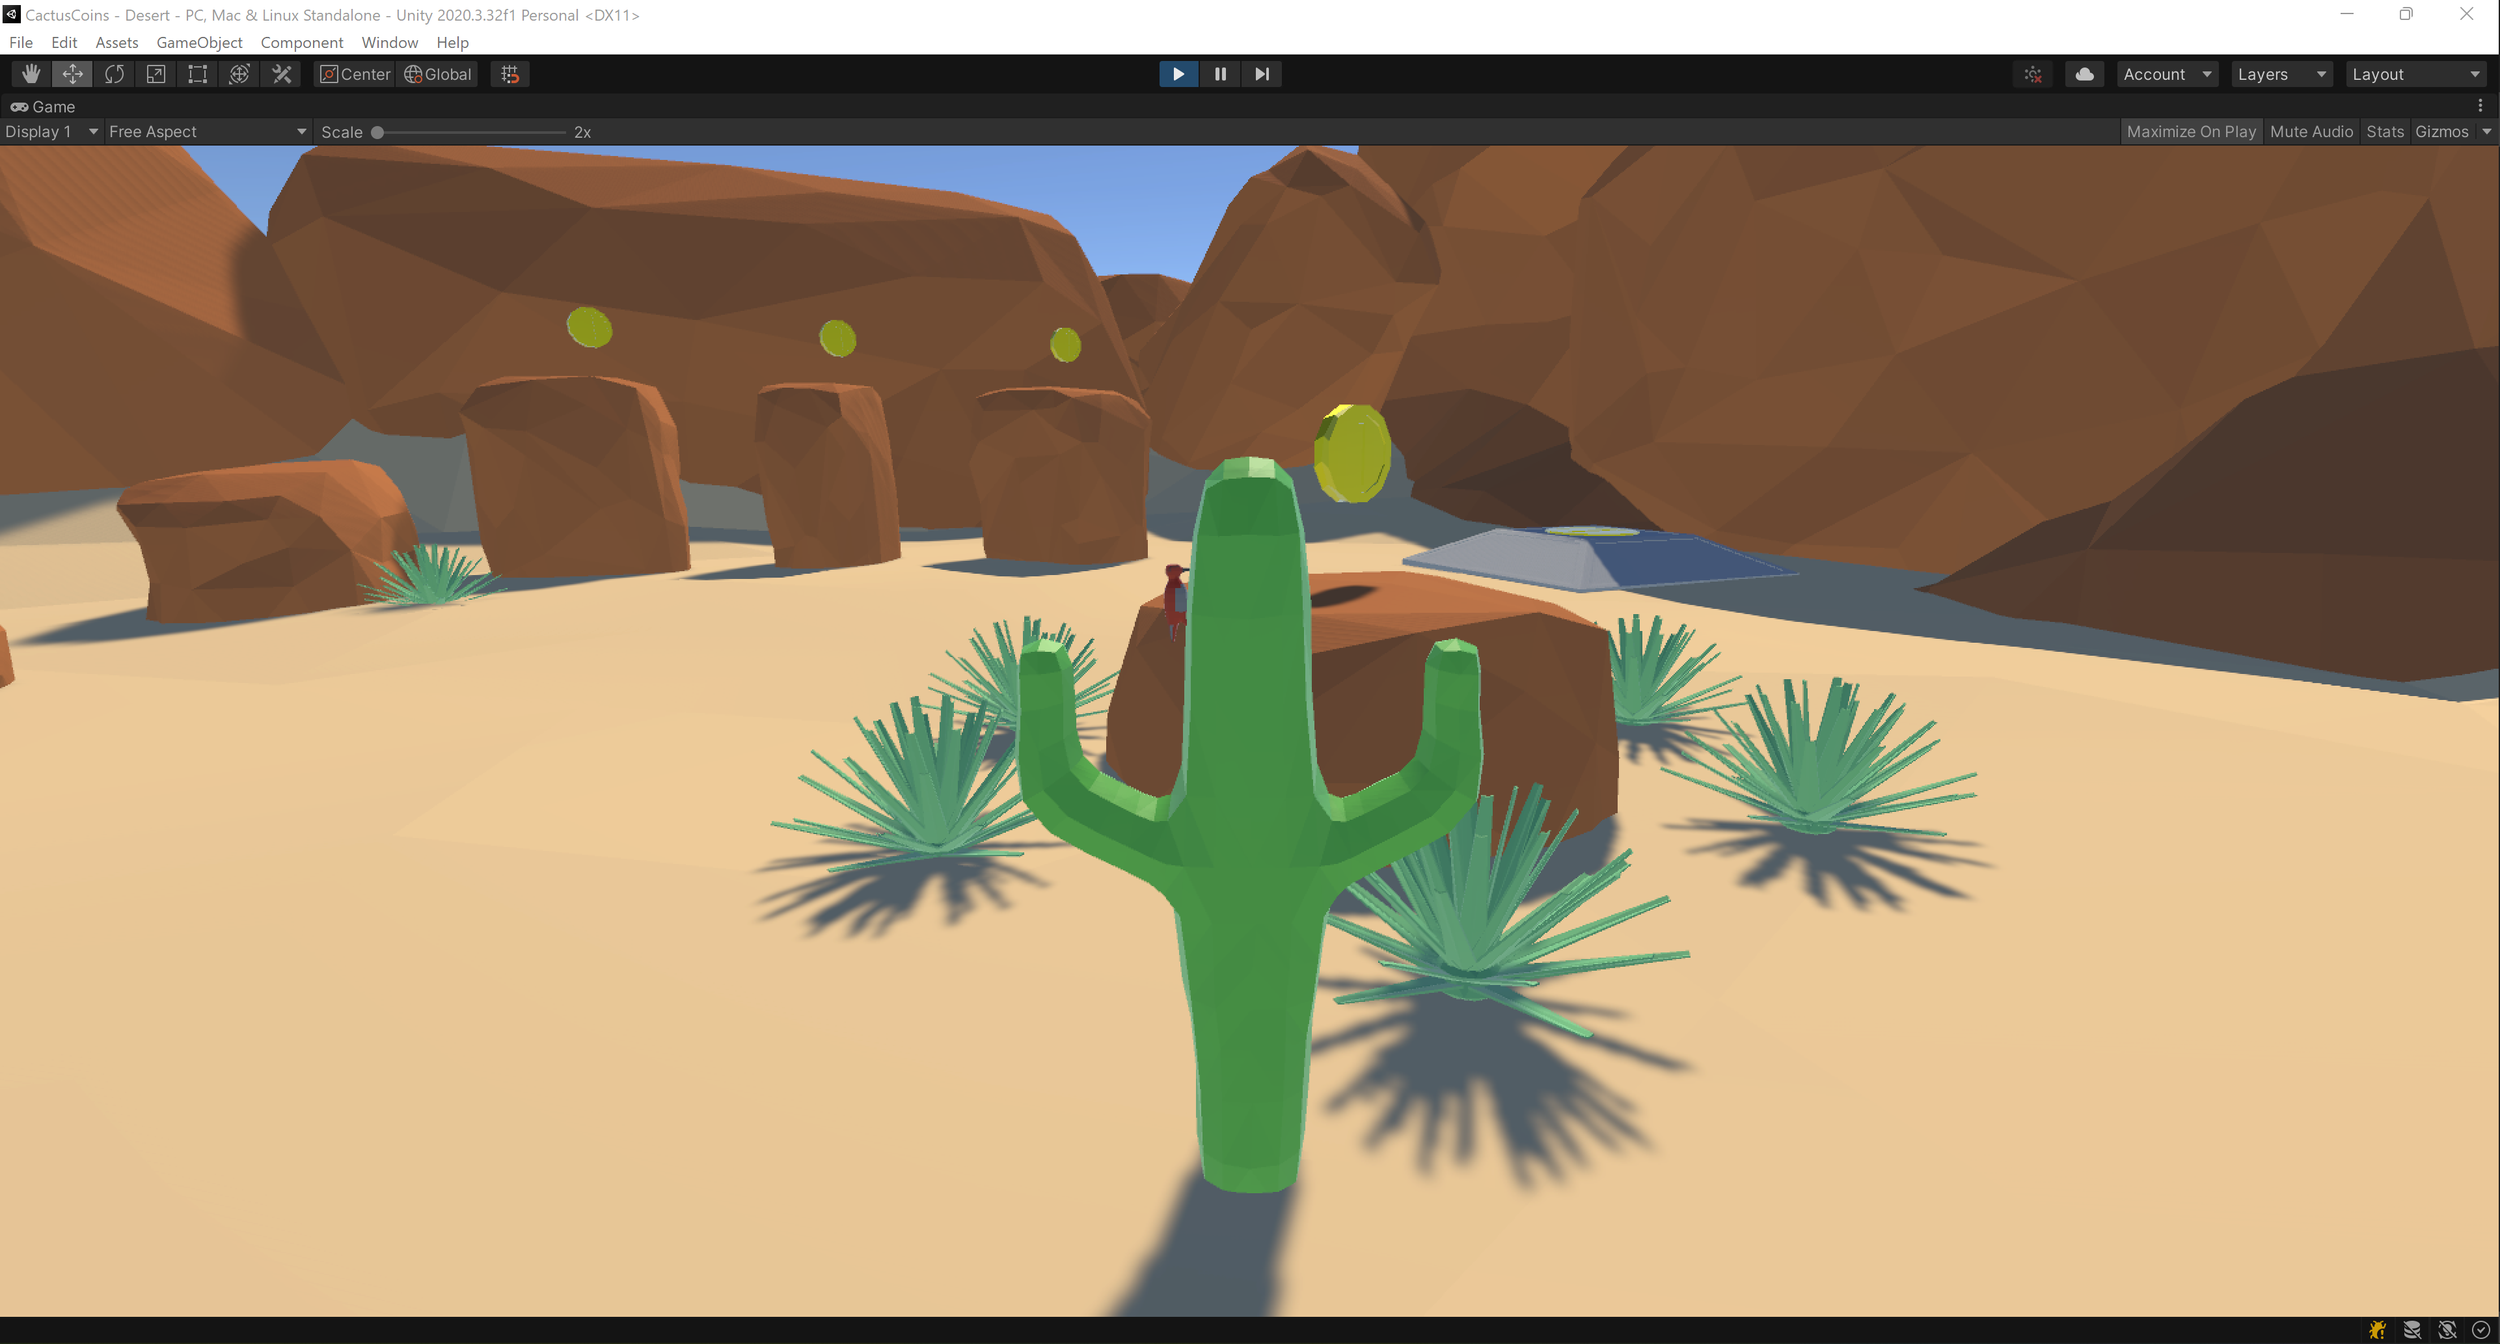
You now have a functioning character controller! The problem is it is invisible in game mode. This is where you get to choose what your character will look like.
You can add a character model at this point, or make a character out of primitive shapes and make them children of the Character game object.
Whatever child objects you add, make sure they don’t have colliders on them, because they might interfere with ground detection.
You can also add an Animator and control animations based on IsGrounded, ForwardInput, and TurnInput!

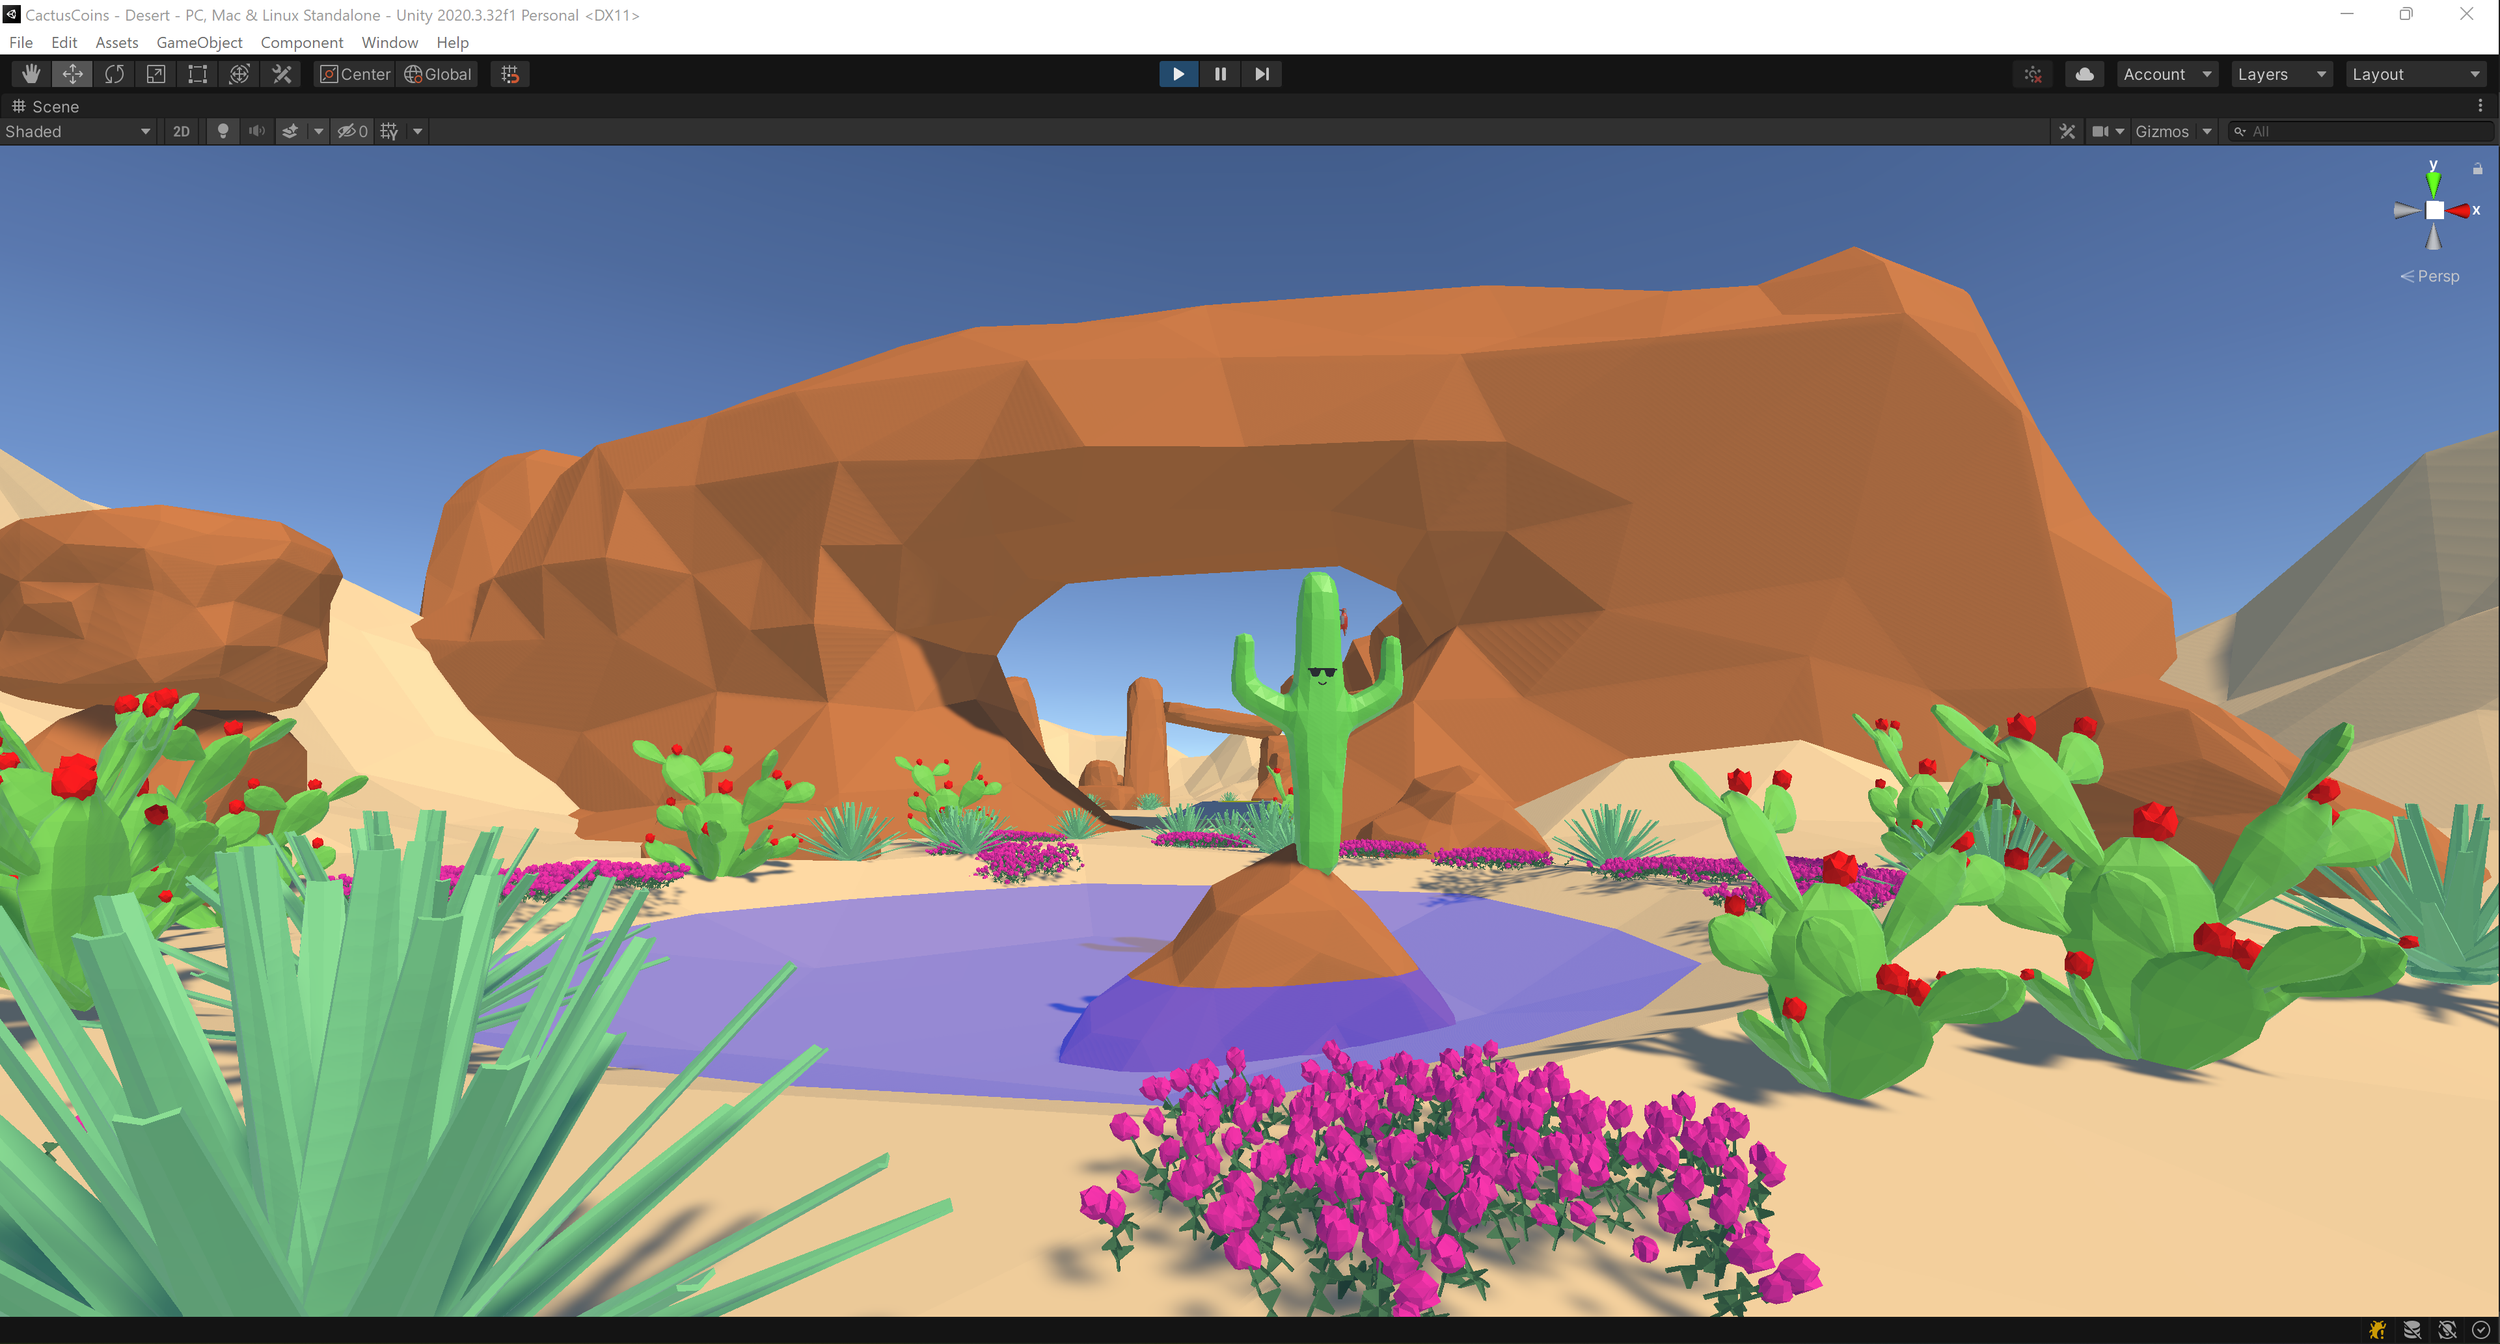
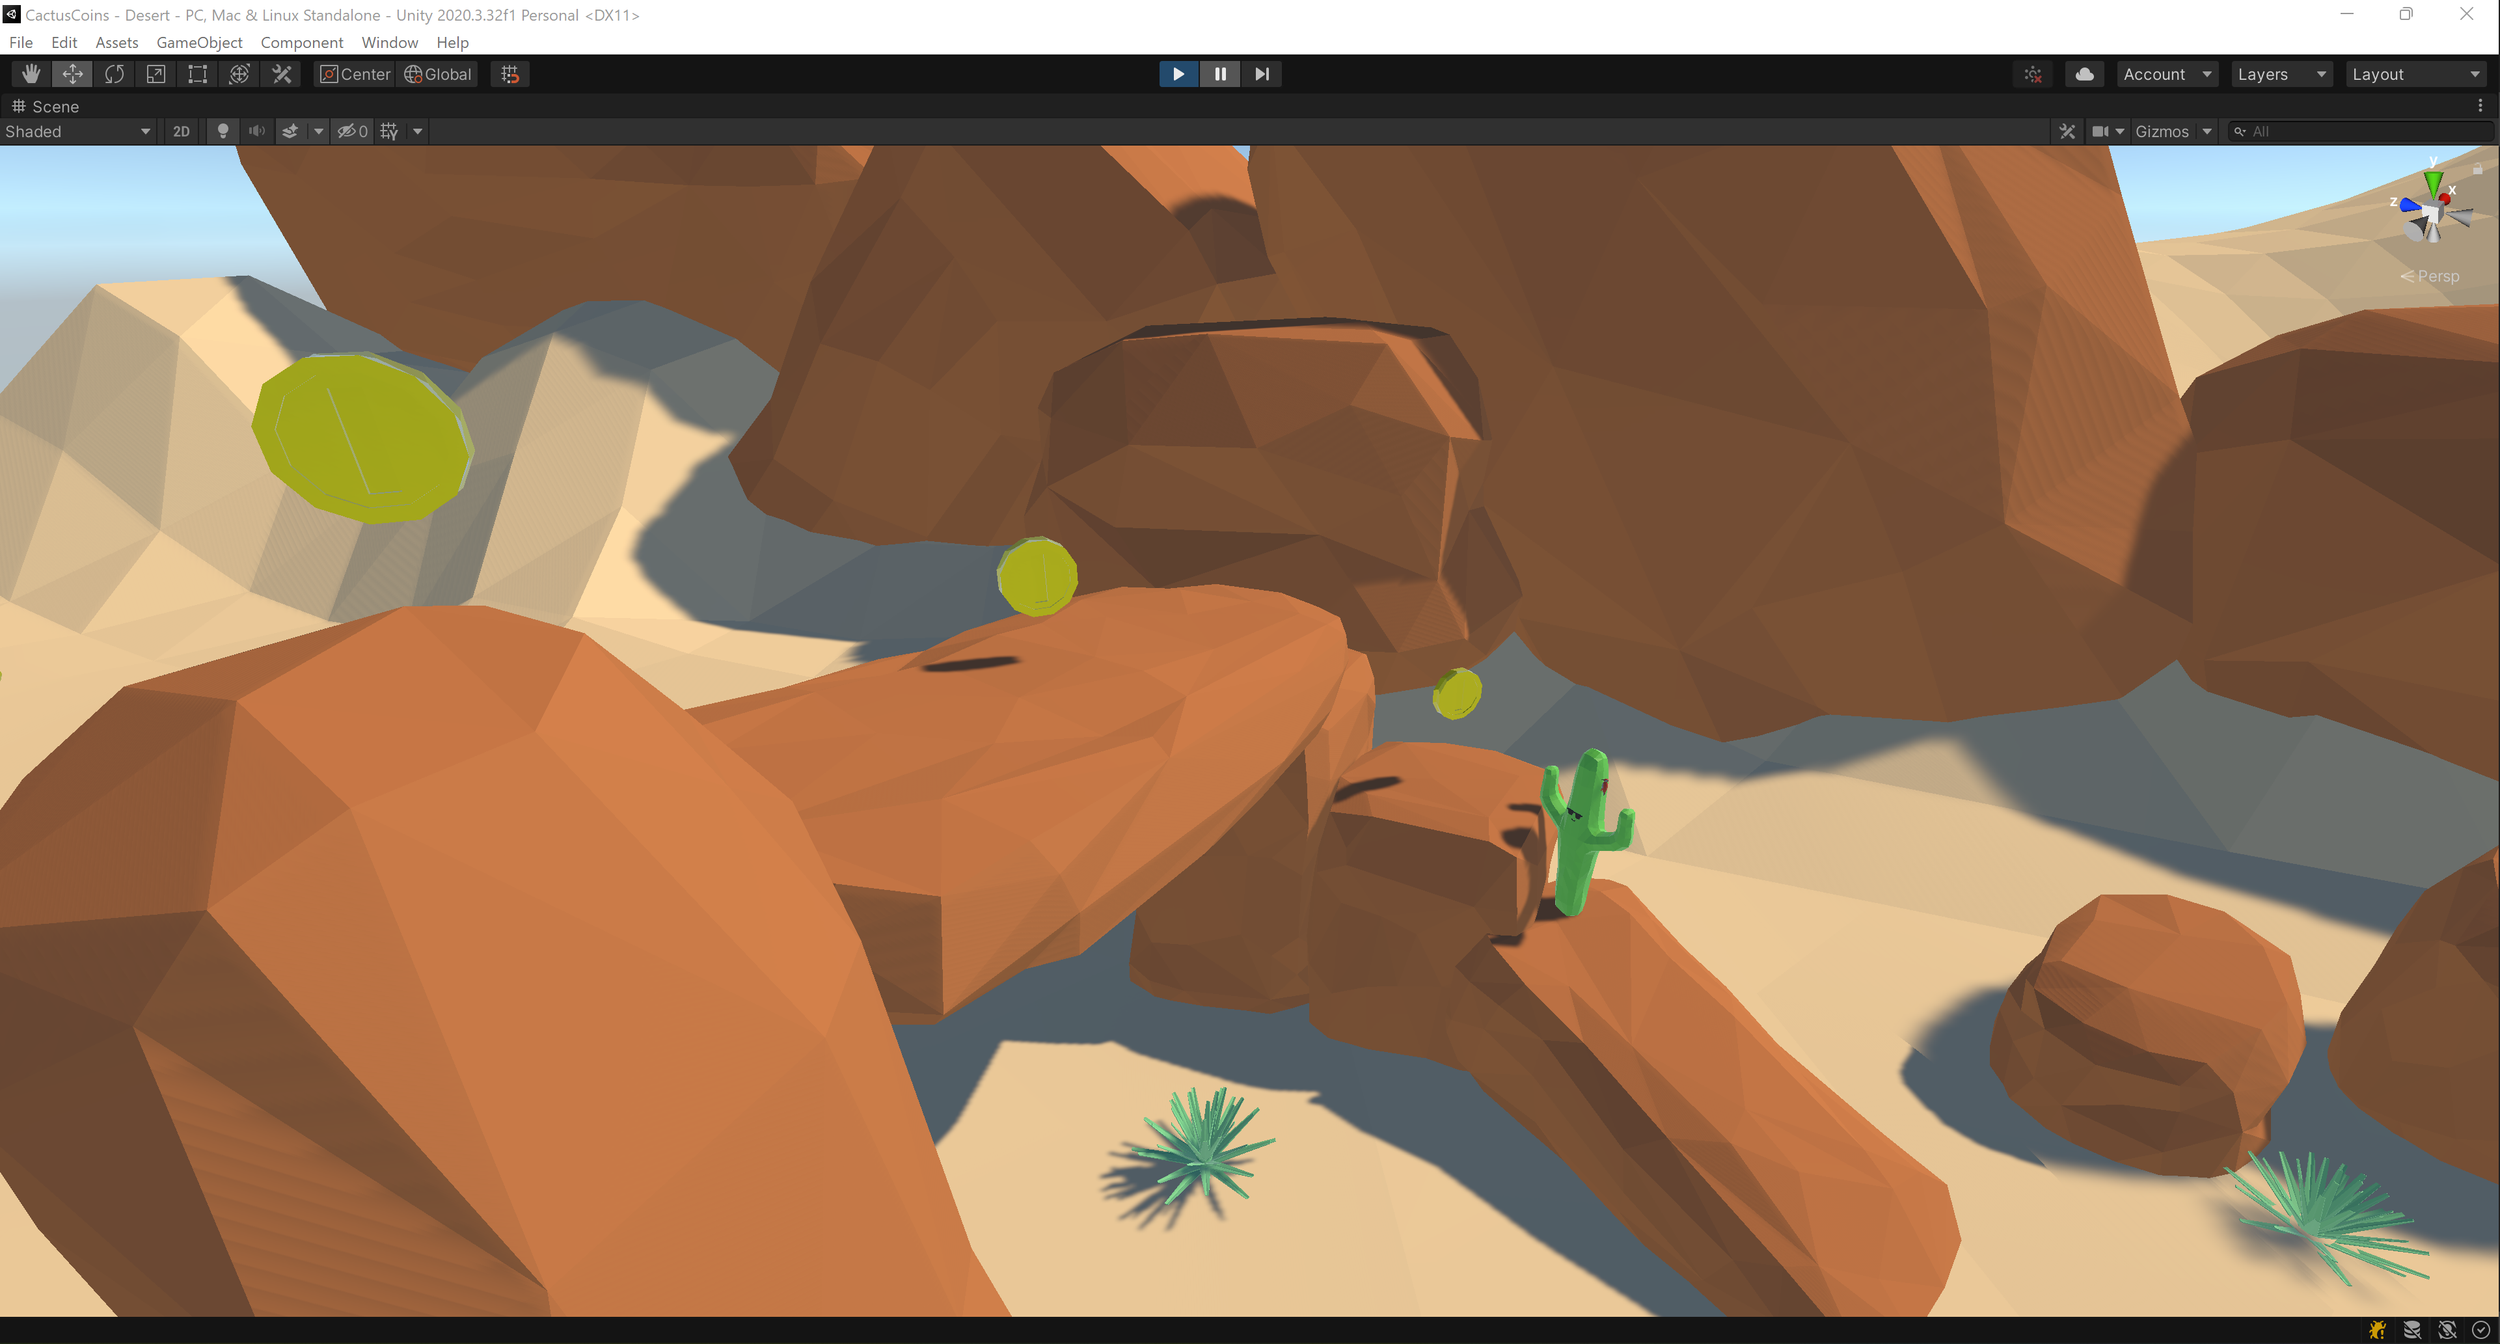
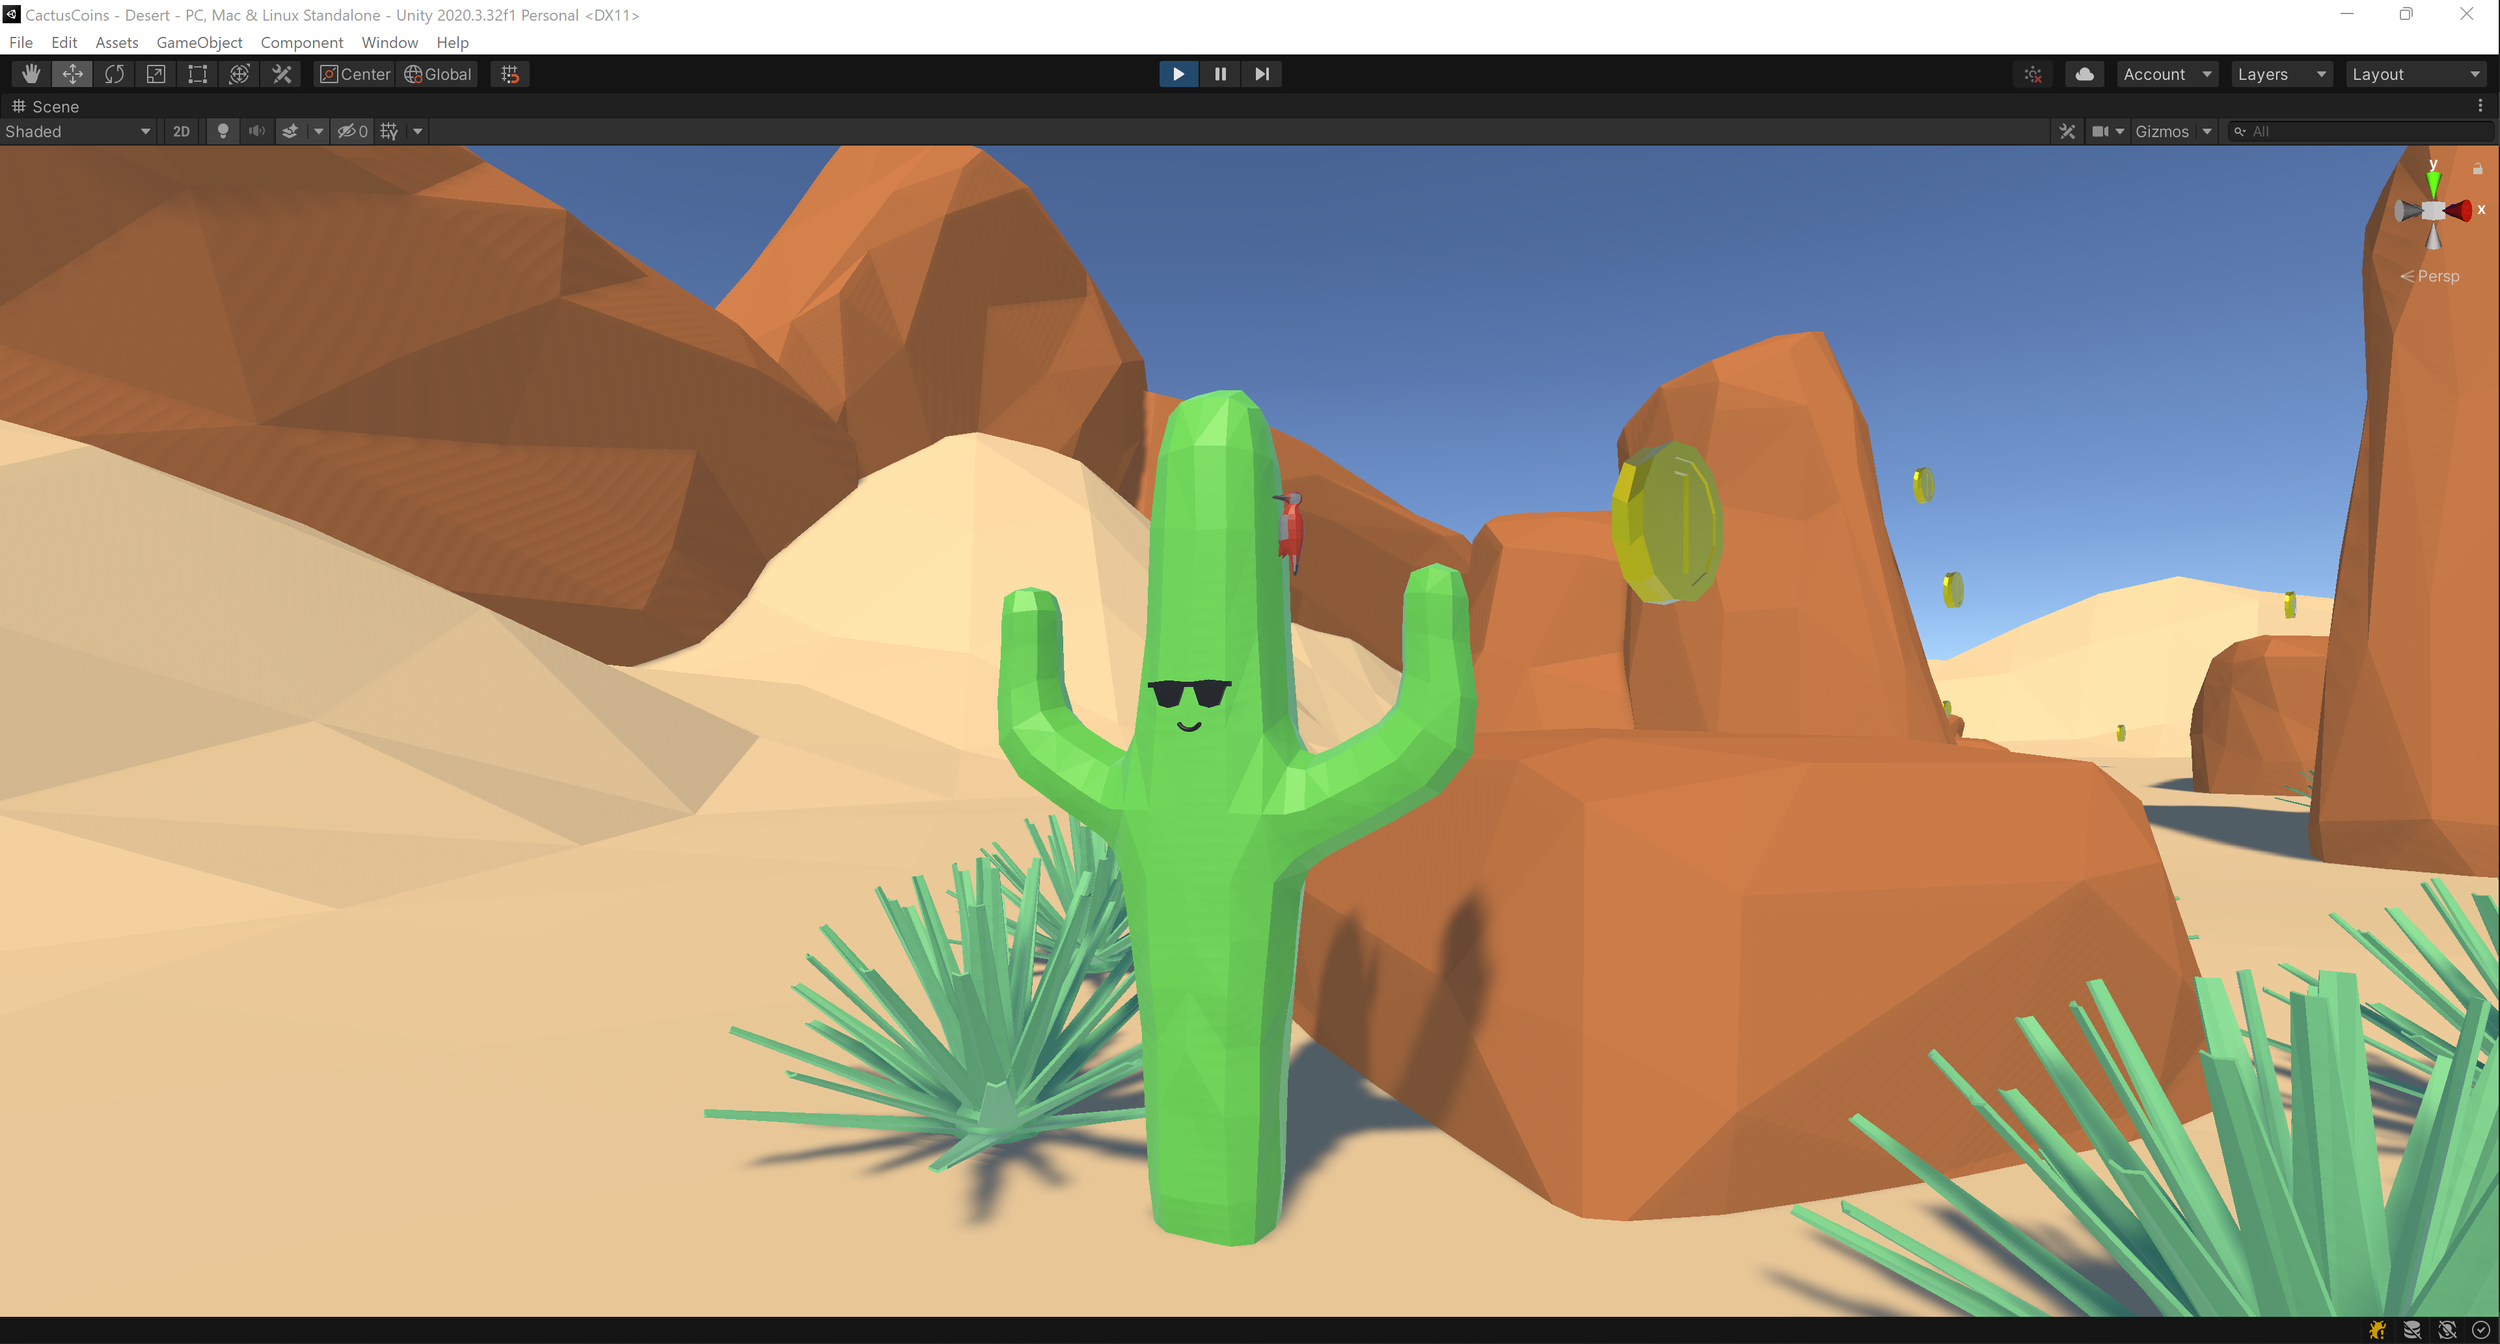
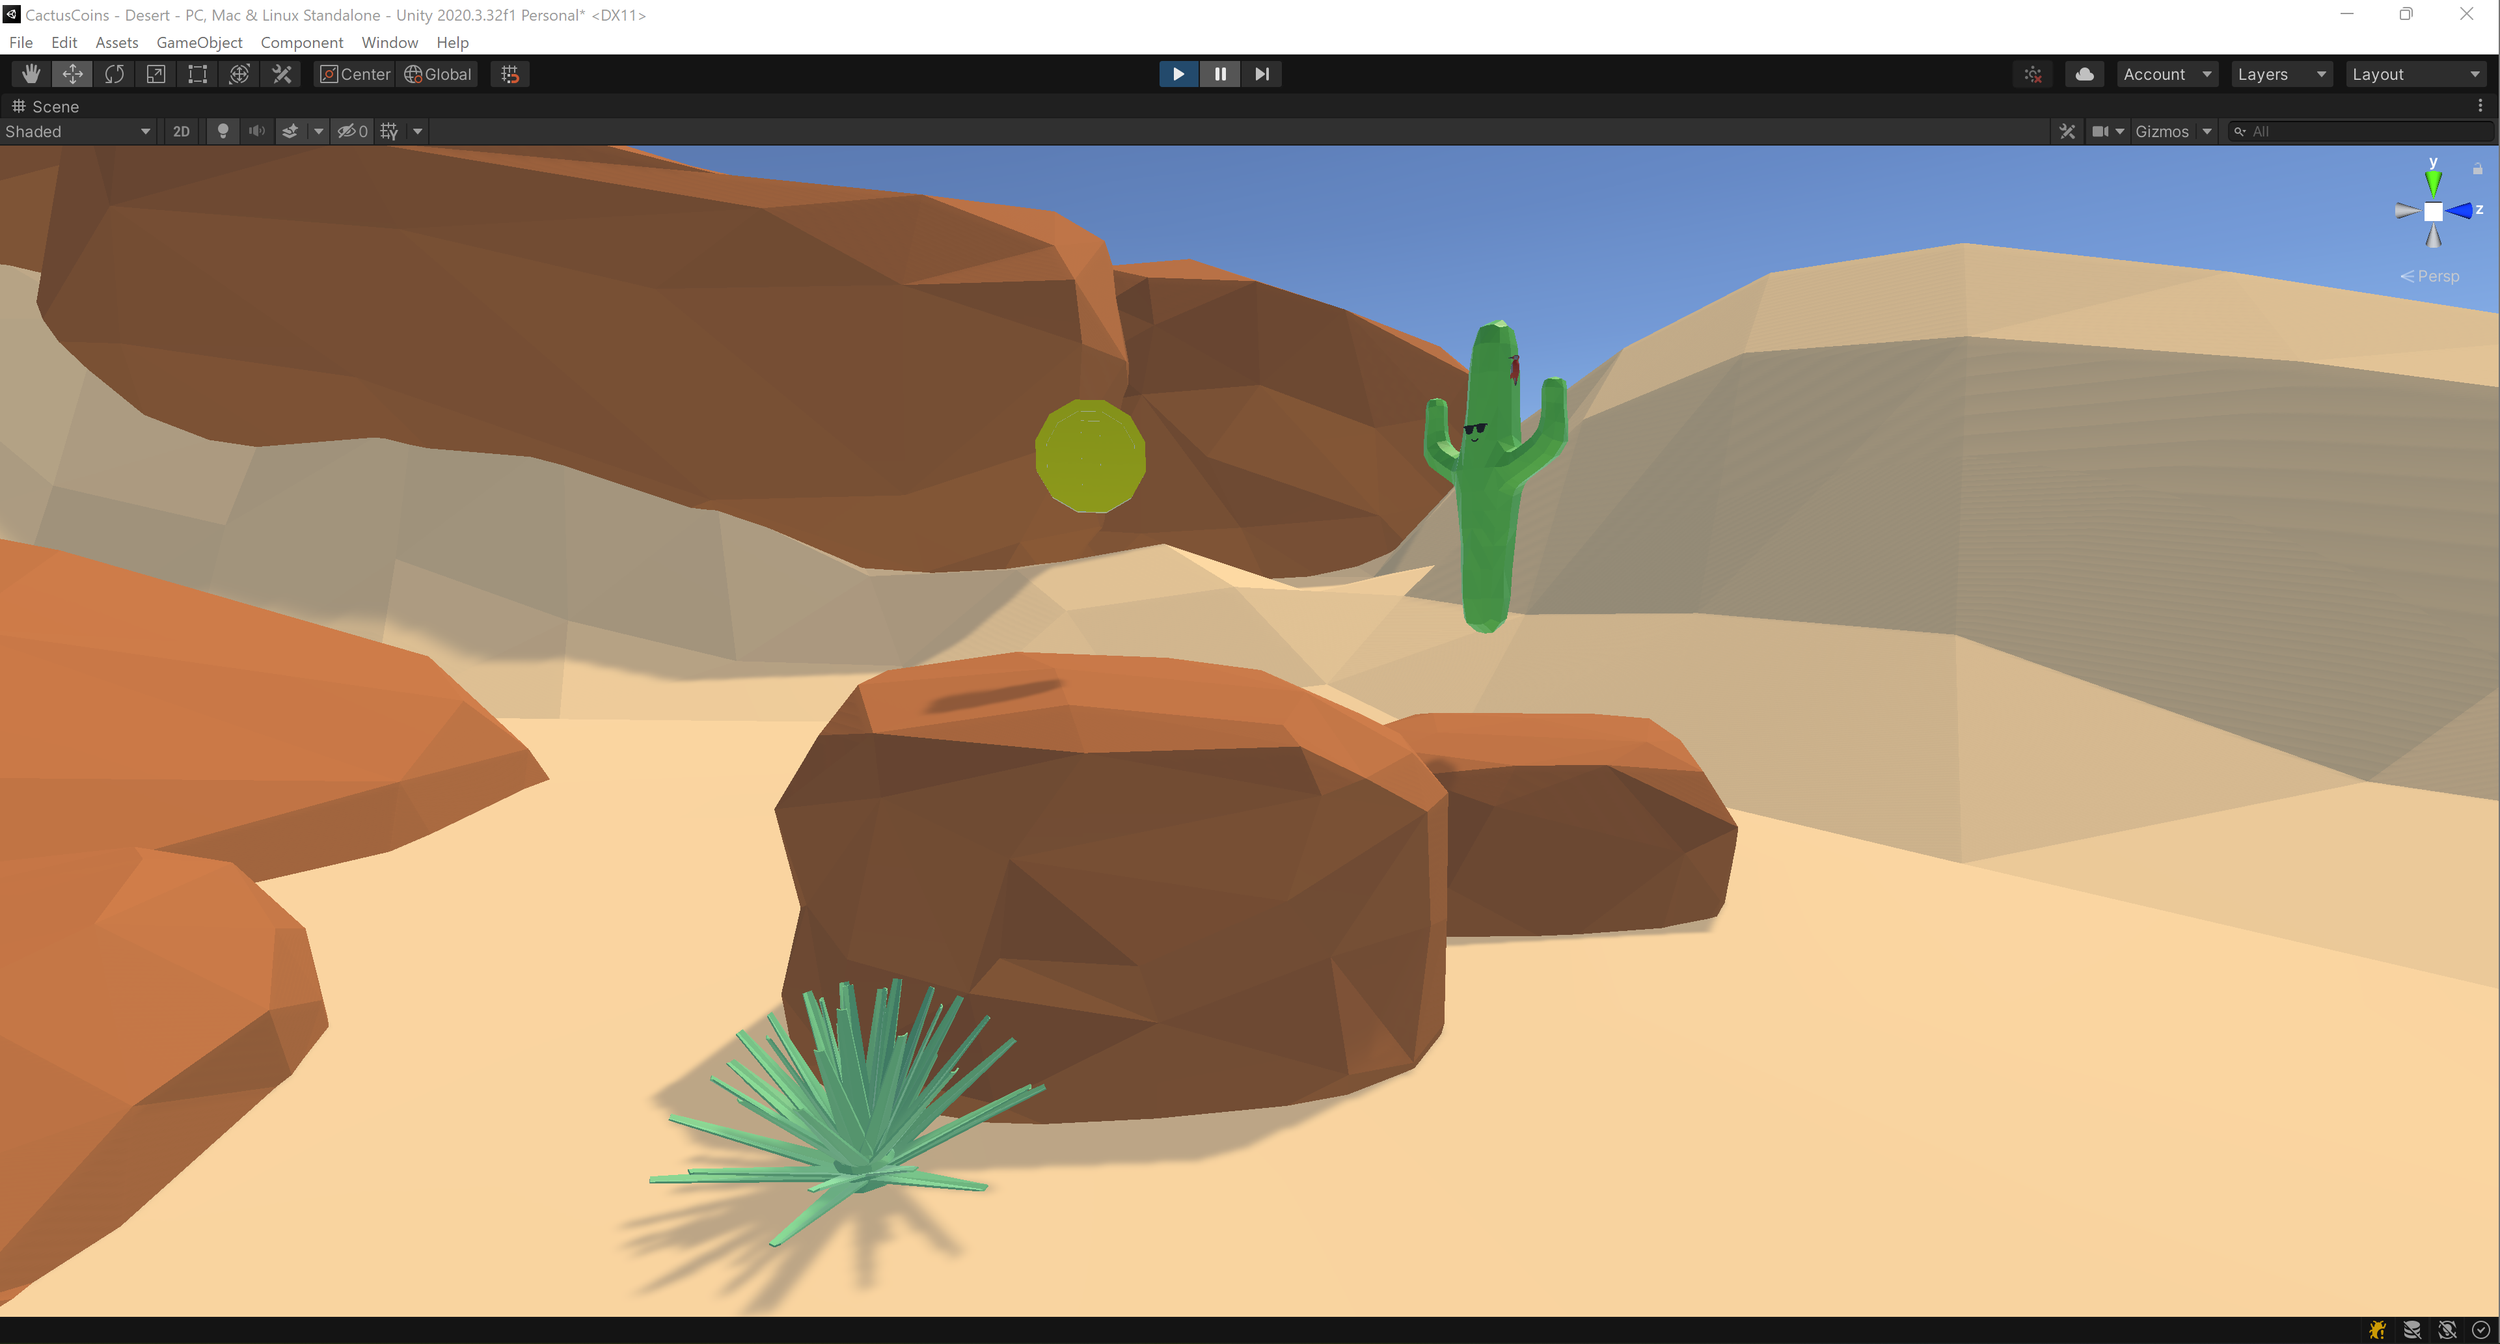
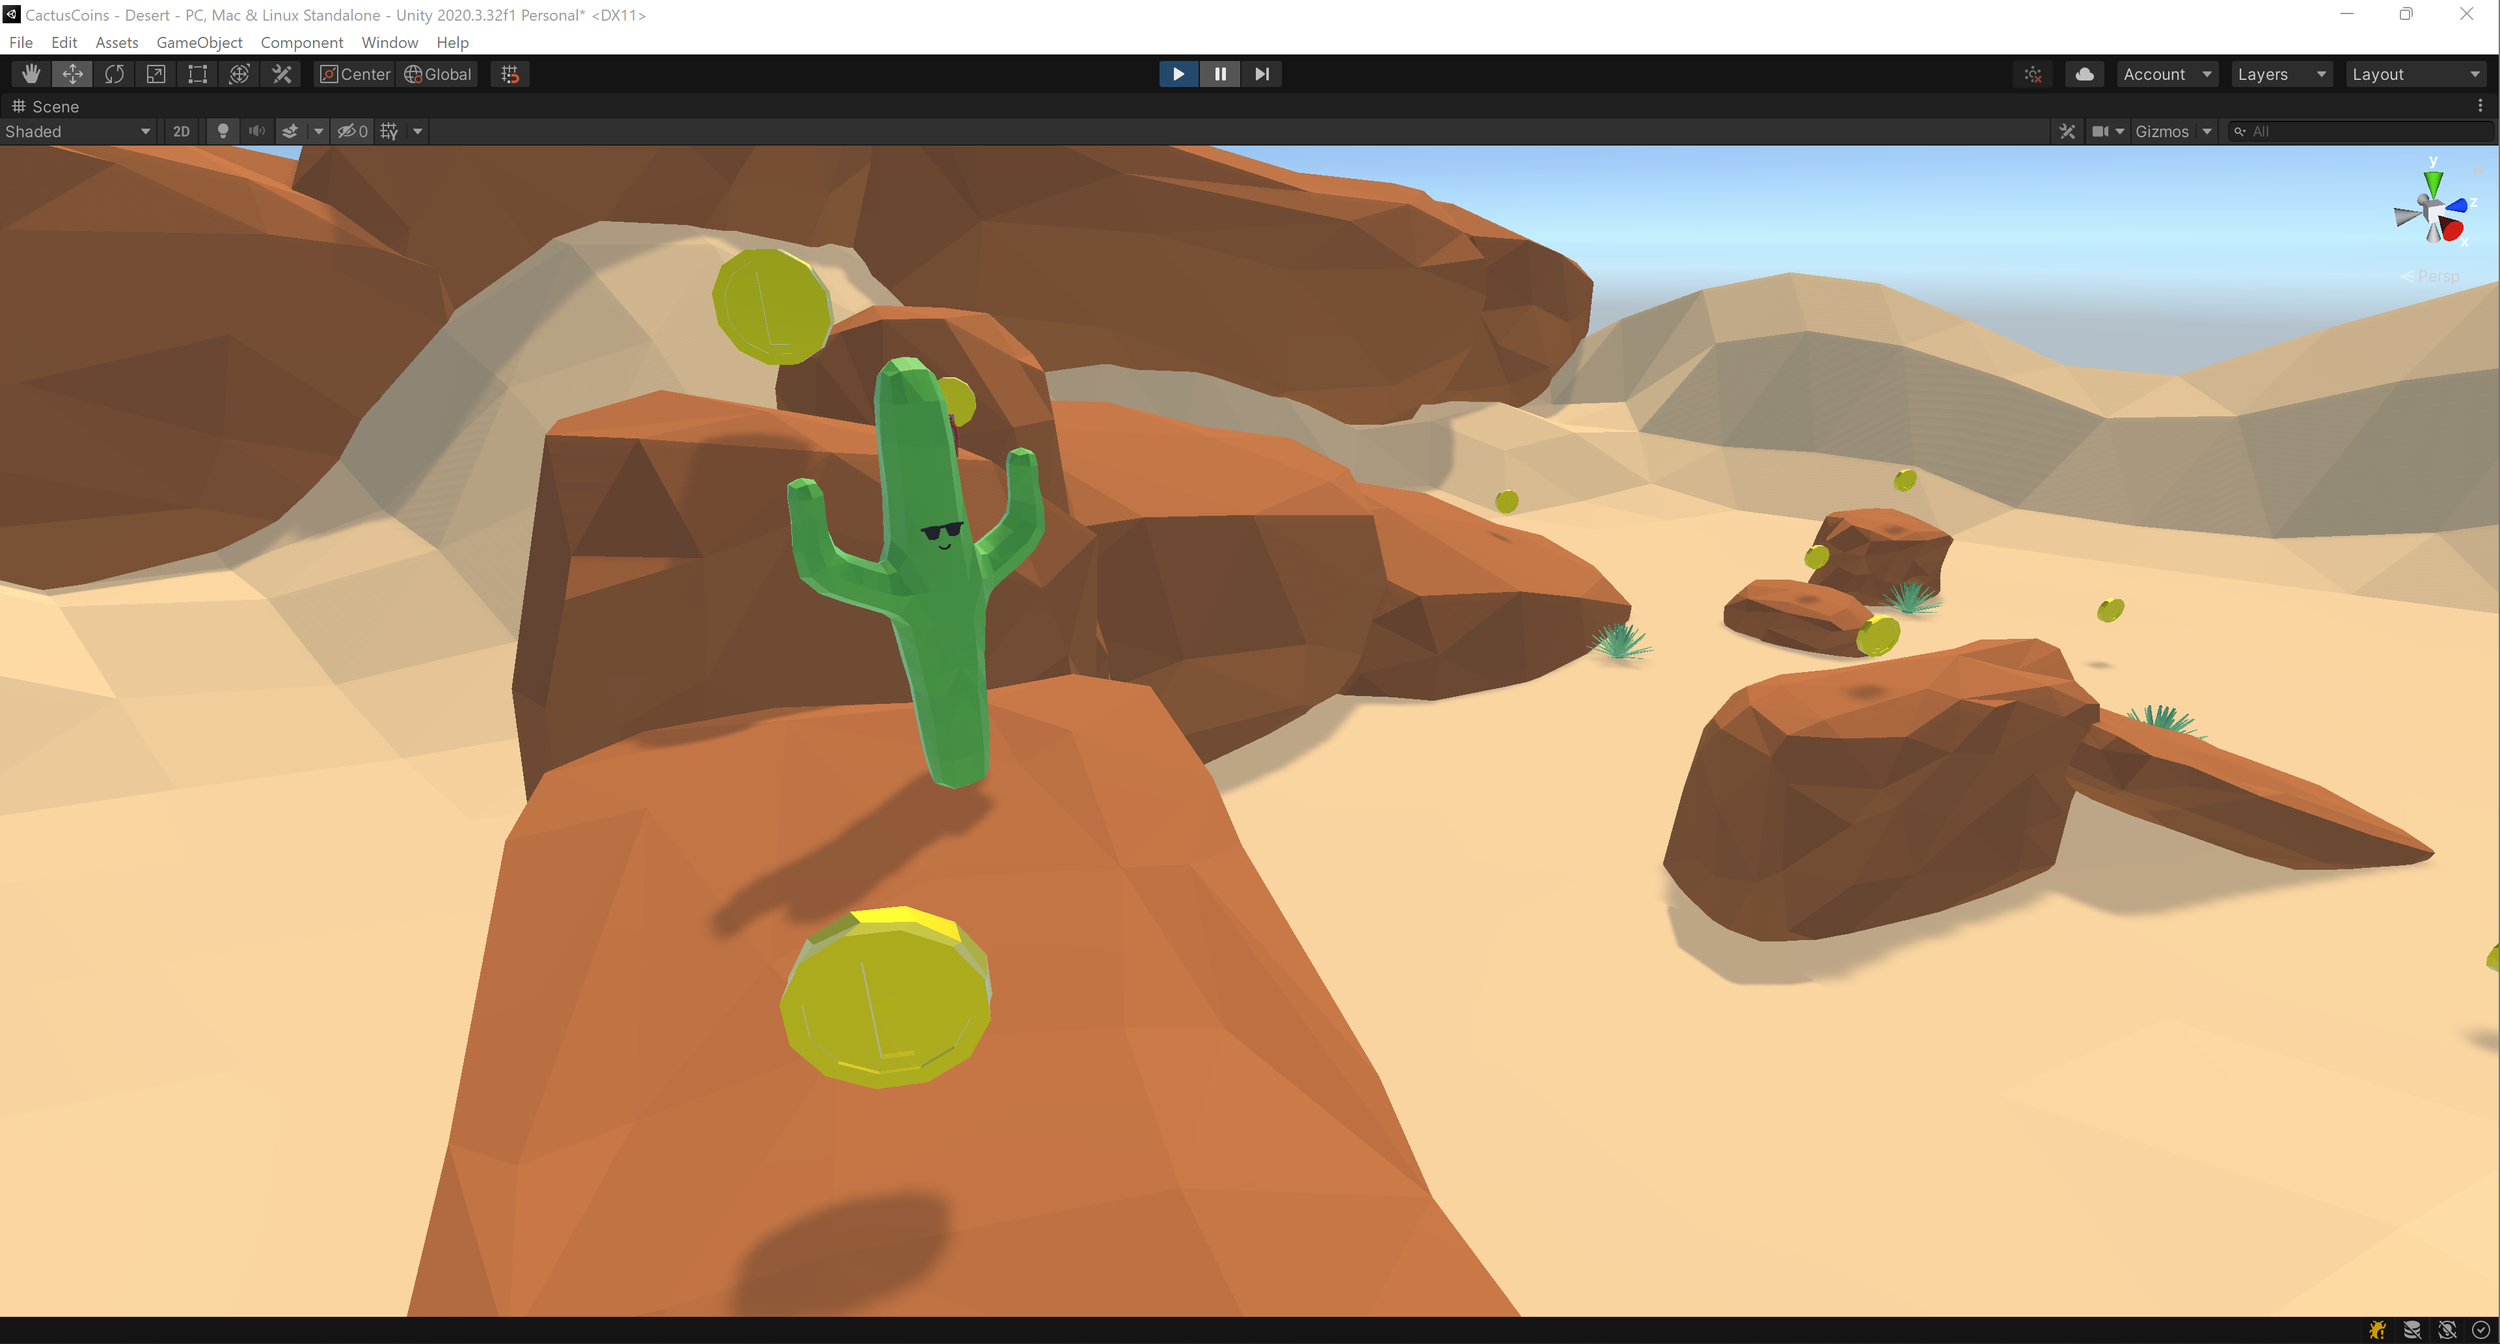
My character is a saguaro cactus that I made in Blender. I even added a particle emitter so that small rocks would fly out of the ground when he moves around. I’m able to use the status of SimpleCharacterController to turn the emitter on when IsGrounded && (ForwardInput || TurnInput) == true.
Conclusion
You should now have a simple character controller that you can build on top of for your game or ML-Agents project. If you enjoyed this tutorial, check us out on social media! You can find links on our Connect page.
License
All code on this page is licensed under the MIT license.
MIT License Copyright (c) 2021 Immersive Limit LLC Permission is hereby granted, free of charge, to any person obtaining a copy of this software and associated documentation files (the "Software"), to deal in the Software without restriction, including without limitation the rights to use, copy, modify, merge, publish, distribute, sublicense, and/or sell copies of the Software, and to permit persons to whom the Software is furnished to do so, subject to the following conditions: The above copyright notice and this permission notice shall be included in all copies or substantial portions of the Software. THE SOFTWARE IS PROVIDED "AS IS", WITHOUT WARRANTY OF ANY KIND, EXPRESS OR IMPLIED, INCLUDING BUT NOT LIMITED TO THE WARRANTIES OF MERCHANTABILITY, FITNESS FOR A PARTICULAR PURPOSE AND NONINFRINGEMENT. IN NO EVENT SHALL THE AUTHORS OR COPYRIGHT HOLDERS BE LIABLE FOR ANY CLAIM, DAMAGES OR OTHER LIABILITY, WHETHER IN AN ACTION OF CONTRACT, TORT OR OTHERWISE, ARISING FROM, OUT OF OR IN CONNECTION WITH THE SOFTWARE OR THE USE OR OTHER DEALINGS IN THE SOFTWARE.